
Find guns in the motel, cinema, armory and Church Hill; craft Molotovs with gasoline and a bottle. Your first melee weapon is the Boxcutter in the dead dog outside Rodney's General Store, and the motel shotgun cabinet opens with 6671. The Silver Pines weapons below include pickups across town, crafted throwables and weapons unlocked for a new game through endings.
Where do you find every weapon in Silver Pines?
Weapons are spread across the Outskirts, Crimson Bear Motel, Downtown, Riverside, Sheriff's Office, Union Apartments, Church Hill and the sewers, with the Switchblade and Omega Rifle earned through endings.
Guns
| Weapon | Location or unlock | Ammunition |
|---|---|---|
| Snub .38 Revolver | Chair in the Grizzly Suite, Crimson Bear Motel | .38 |
| W-500 Shotgun | Porcelain Bear gift shop weapon cabinet, Crimson Bear Motel; code 6671 | 12ga |
| Nailgun | Movie theater projection booth; buy the Projector Room Key for $20 | Nails |
| Model 7 Rifle | Sheriff's Office armory, behind the gate opened with the Armory Key | .223 |
| 1911 Service Pistol | Desk behind the coded door in the Union Apartments Supervisor's Office, 1A | .38 |
| S-1 Carbine | Padlocked crate in the fishing shack on the Church Hill docks; code 4514 | .223 |
| Swedish K SMG | Funeral Home attic room, beside the bed; requires the Sledgehammer and Attic Key | 9mm |
| Double Barrel Shotgun | Sport Smart weapon cage; code 2367 | 12ga |
| The North Star | The Quiet Hour Cafe on Market Street, beside the man on the floor after collecting Cable Station Bell F | 12ga |
| .44 Magnum | Defeat the Sheriff in the Market Street sewer | .44 Magnum |
| Omega Rifle | Live ending unlock for a new game | Magnetic Slugs |
Melee weapons and throwables
| Weapon | Location or recipe | What it does |
|---|---|---|
| Boxcutter | Dead dog's body outside Rodney's General Store, Outskirts | Short reach and low durability; cuts fabric |
| Crowbar | Evidence Lockup in the Sheriff's Office, resting against a chair | Breaks wooden objects and boards |
| Baseball Bat | Market Street backlot, in front of the dumpster | Balanced melee weapon |
| Blade | Abandoned House, Riverside | Sharp but fragile paper-cutter blade |
| Sledgehammer | Church Hill cemetery area | Heavy melee weapon; demolishes cracked barriers |
| Shovel | Digging man's caravan in northwest Downtown, after taking the cable car up Mount Siah Kopa | Digs soft ground; also usable as a weapon |
| Switchblade | Leave ending unlock for a new game | Fast swings at close range |
| Bottle | Pickups across town, including Union Apartments basement storage | Throwable improvised weapon; Molotov ingredient |
| Pipe Bomb | Sport Smart upstairs area opened with the Crank Handle | Throwable explosive |
| Molotov Cocktail | Combine gasoline + an empty bottle | Throwable incendiary weapon |
How do you get the Boxcutter and motel guns?
Take the Boxcutter from the dead dog outside Rodney's General Store, collect the Snub .38 Revolver in the Grizzly Suite, then open the gift shop cabinet with 6671 for the W-500 Shotgun.
Boxcutter outside Rodney's General Store
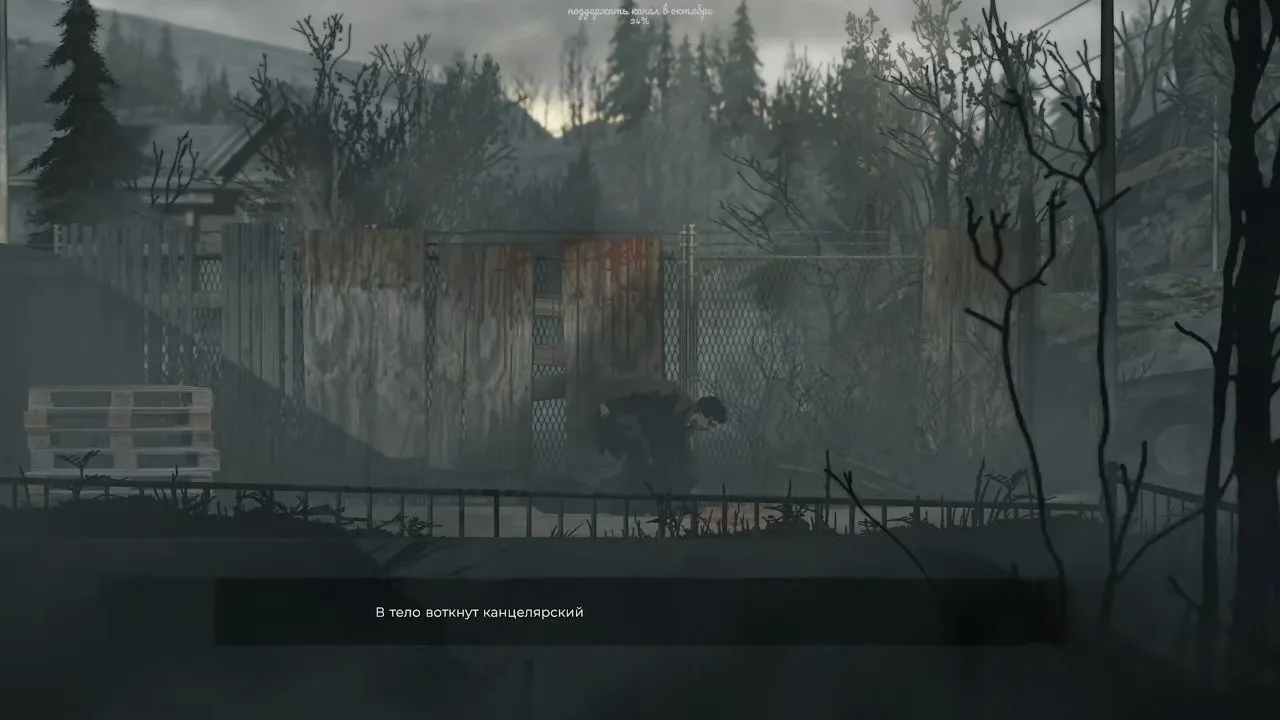
After collecting the Check In Key in the store, leave and head left on your way back toward the Motel Office. Interact with the dead dog and take the Boxcutter. The body text identifies the embedded cutter; the weapon description warns about its low reach and durability. Equip it before moving on.
Treat it as a stopgap and a cutting tool. Its short reach gives you little room for a comfortable melee exchange, and you also need it to cut the sheet in motel Room 5. Follow the silver pines motel route if you still need the store key or a path into the guest rooms.
Snub .38 Revolver in the Grizzly Suite
- In the Changing Room, interact with the jacket on the wall to obtain the Grizzly Suite Keycard. Check that you have the keycard before going upstairs.
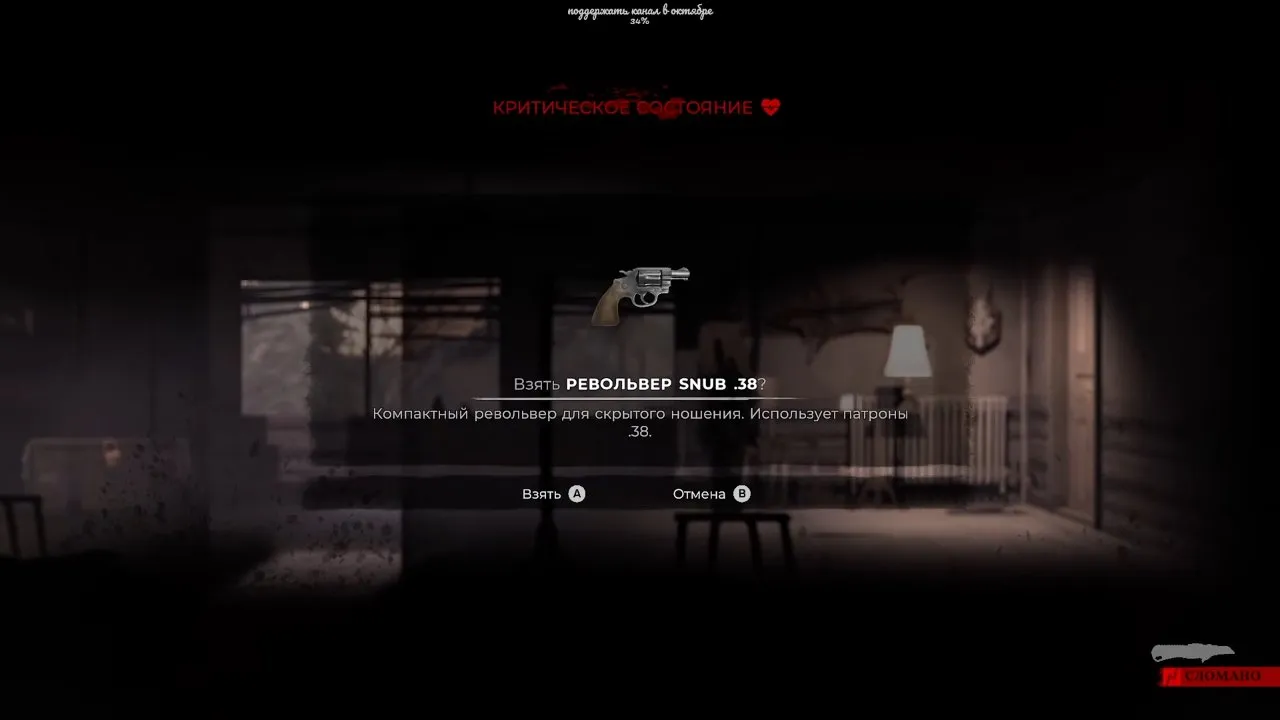
- Use it on the Grizzly Suite door. Once inside, take the revolver hanging on the chair and the bullets on the table. The pickup panel names the Snub .38 Revolver.
- If you want the extra ammunition, equip the revolver and shoot the lock on the container to the left. The opened container lets you collect more bullets.
W-500 Shotgun in the gift shop
The locked cabinet can look like something you must leave for a later story event. The clue is actually a room call: the guest booklet in the Grizzly Suite explains how to call motel rooms, and the woman in Room 3 knows the combination.
- Collect the Welcome Booklet in the small room beyond the Grizzly Suite bedroom. Its room-call instructions are the clue to using the phone.
- Put money into the phone by the pool and dial 58883. The woman in Room 3 answers and gives you 6671.
- Return to the Porcelain Bear gift shop and enter 6671 on the weapon cabinet. It opens to the shotgun and ammunition.
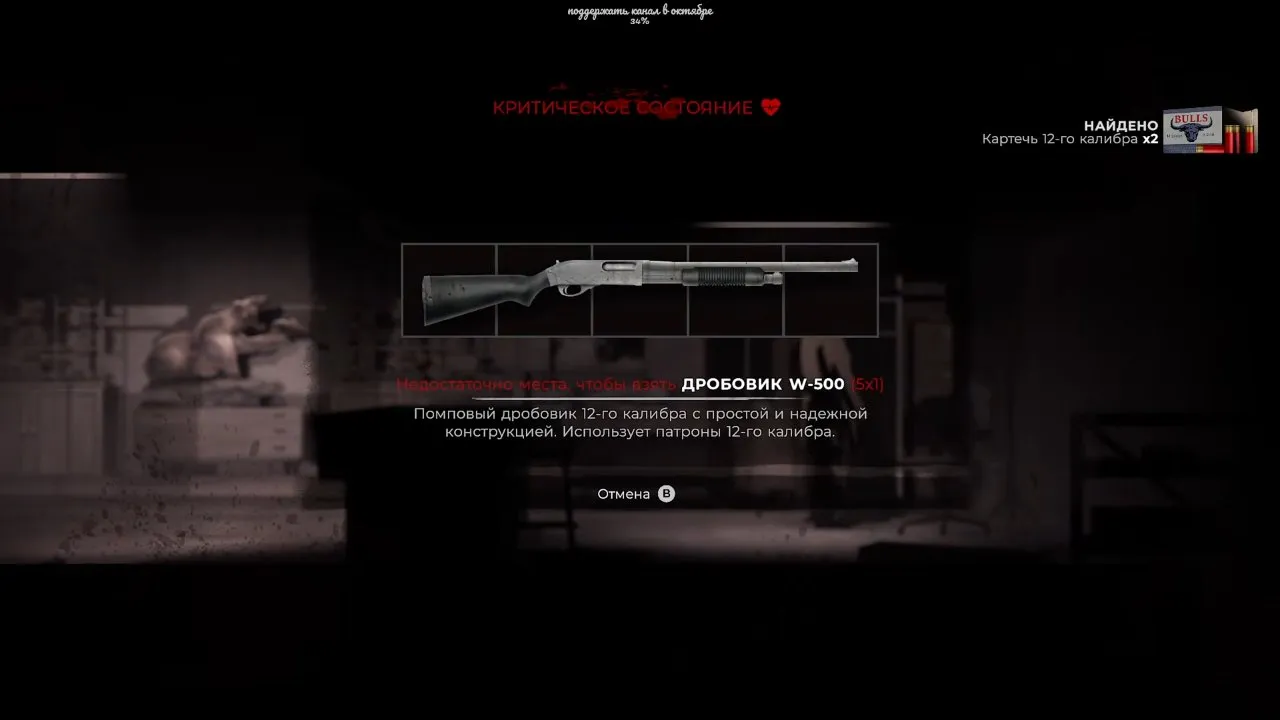
Make room before collecting it. The pictured weapon occupies five slots, and the red inventory warning shows why opening the cabinet alone may not let you take it. Once you have enough space, collect the W-500 and its 12ga shells.
How do you make a Silver Pines Molotov cocktail?
Combine gasoline with an empty bottle to make a Molotov Cocktail; you can collect both ingredients in Union Apartments basement storage behind code 1525.
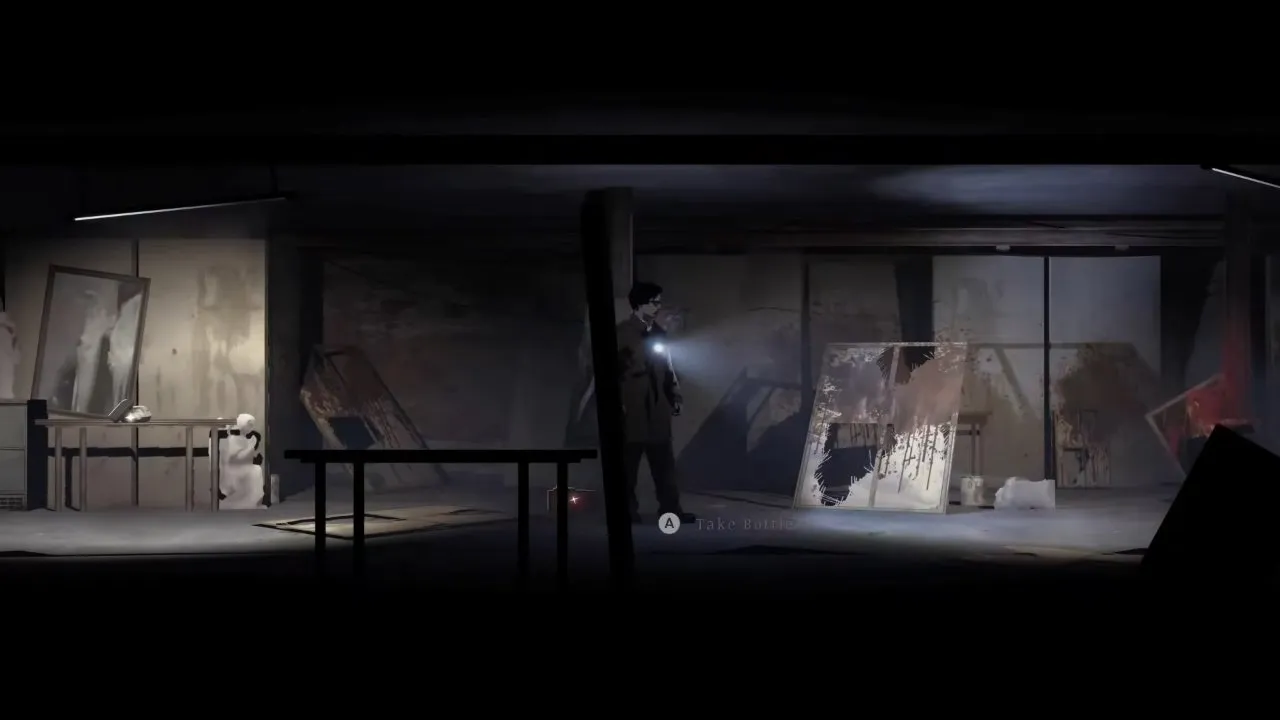
- In Apartment 1C, combine the Dried Up Paint Solvent with the Bottle of Alcohol. You get Paint Solvent.
- Apply it to the painted wall. The revealed message reads Basement 1525, pointing you to the storage gate.
- Go down to the basement Storage Rooms and enter 1525 at the first storage area. The gate opens; take the bottle and gasoline inside.
- Combine those two items. The resulting item is a Molotov Cocktail, which is your confirmation that you used the right ingredients.
Gas can look like fuel you should save for operating machinery. The embedded video at the top explains the bottle-and-gas recipe, so you can put it toward Molotovs instead. Keep the two combinations separate: alcohol restores paint solvent, while gasoline goes into the throwable. For the route through the building, continue with silver pines union apartments.
Where is the Silver Pines flashlight location?
The flashlight is on the far side of the Wing Oil gas station in Riverside; enter the station and work through its rooms to reach it.
Seeing it through the partly open shutter does not put it within reach. Go to the station's back yard, turn on the power at the fuse box, then return to the front entrance. Inside, take the Restroom Key on the right and continue through the right-hand rooms. Talk to the woman, pass through the door on the left and collect the flashlight at the other end of the room.
After the pickup, the return door locks. Move left, deal with or dodge the enemies, and continue left to get back into the yard. Do not keep trying the locked door while enemies close in.
The flashlight uses batteries. Turn it off when you no longer need illumination so you still have light for dark rooms. One immediate use is Cell B in the Sheriff's Office: switch it on to find the Armory Key on the bed.
How do you get the Nailgun and Sheriff's Office rifle?
Buy the cinema's $20 Projector Room Key for the Nailgun, and use the Armory Key from Cell B to reach the Model 7 Rifle in the Sheriff's Office.
Nailgun in the cinema
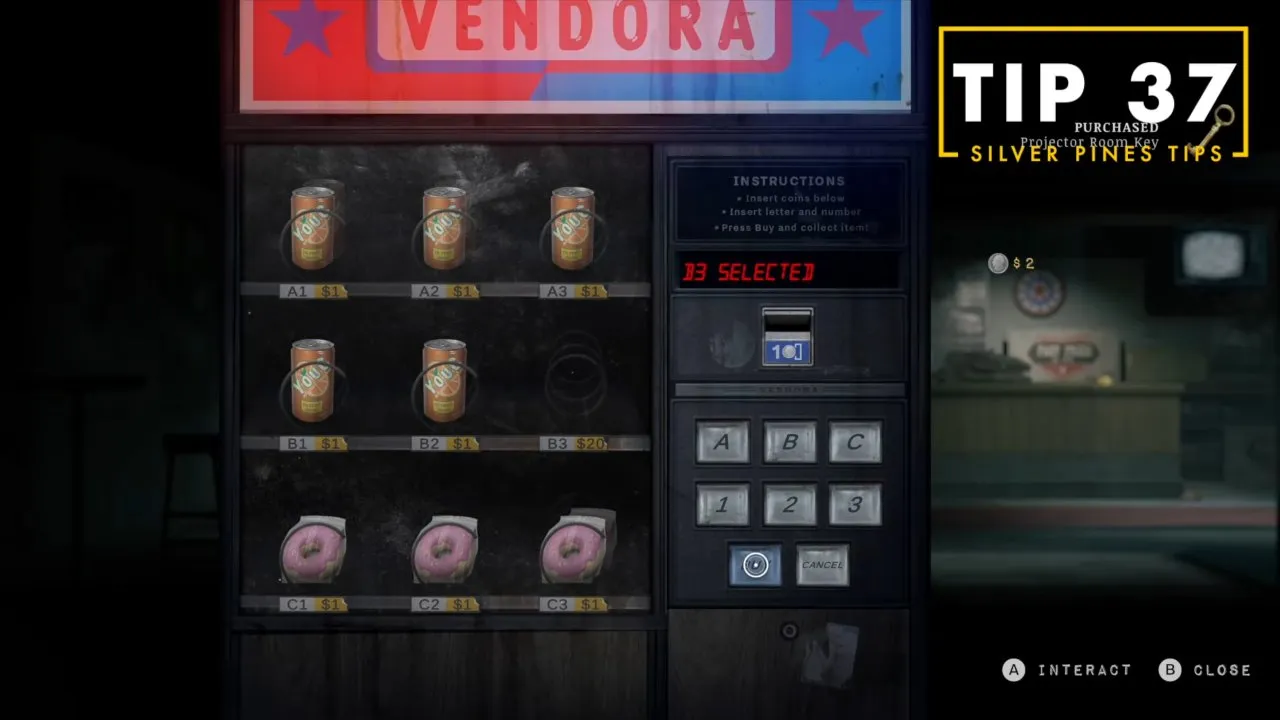
Choose B3 in the movie theater vending machine and buy the Projector Room Key. Check for the purchase notification, then use the key on the door to the right and climb the stairs.
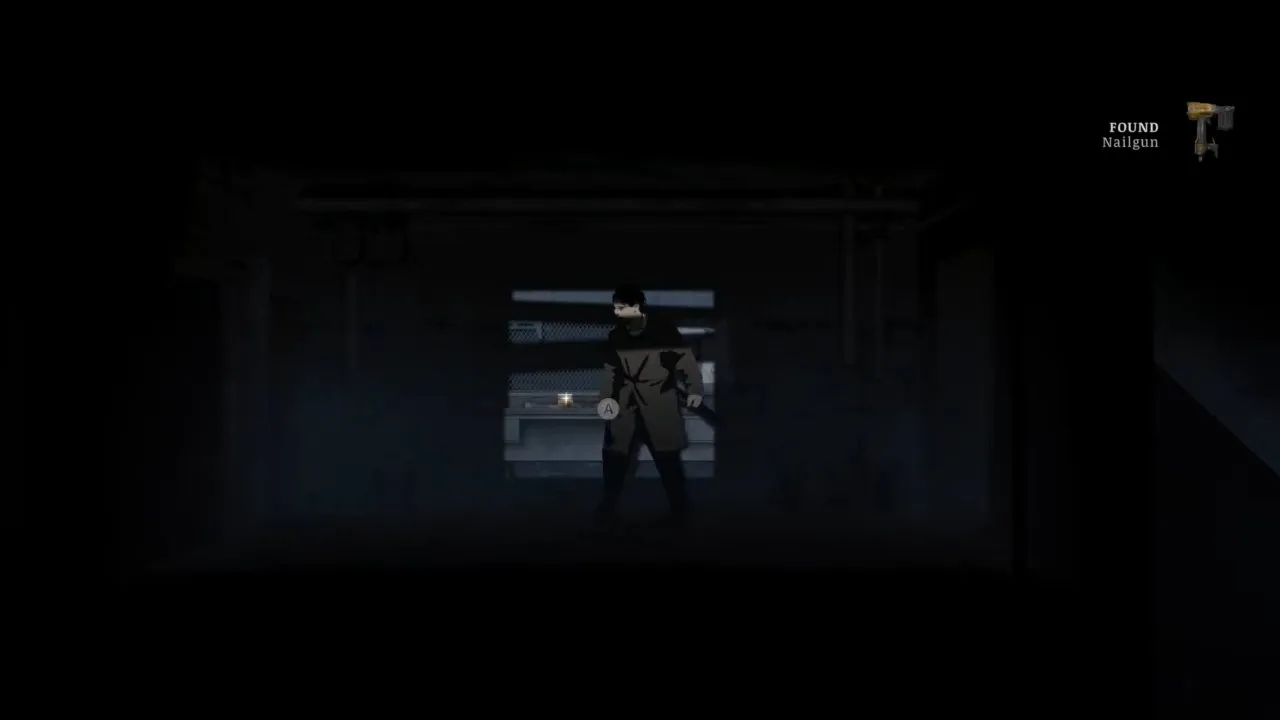
Take the Nailgun and nearby nails. The Found Nailgun notification confirms you have collected it. This is an optional weapon purchase: go upstairs when you want another ranged option, or keep your $20 if you would rather skip it.
Crowbar and Model 7 Rifle in the Sheriff's Office
- Open the Sheriff's Office safe with Right 15, Left 7, Right 3, Left 10. Take the Evidence Lockup Key and ammunition from the opened safe.
- Go to the Evidence Room and unlock the gate. Take the Crowbar resting against the chair inside.
- Enter Cell B, turn on the flashlight and take the Armory Key from the bed.
- Use the Crowbar on the boarded doorway farther right. The broken boards give you access to the Armory.
- Collect the Weapon Utility Case from the desk, then unlock the right-hand gate with the Armory Key. Take the Model 7 Rifle and .223 ammunition beyond it.
There is a storage box in the Armory if you need to clear space. For the connected station route, use silver pines sheriff's office.
How do you collect the later weapons around town?
Return to locked rooms with the right tools: the Sledgehammer opens the route to the Swedish K SMG, the Crank Handle reaches the Pipe Bomb, and the cable-car trip makes the Shovel available.
Union Apartments pistol
Enter 1C, 3A, 2A, 3C at the coded door in the Supervisor's Office. Those entries match the apartments of the artist, cat lady, writer and stalker victim. When the door opens, take the 1911 Service Pistol and Floor 4 Button from the desk.
Church Hill Carbine, Sledgehammer and SMG
At the Church Hill docks, open the fishing-shack crate with 4514 and take the S-1 Carbine. It shares .223 ammunition with the Model 7, so adding the Carbine also gives you another use for that ammo supply.
Collect the Cemetery Key from a coffin in the Funeral Home and check the cemetery area for the Sledgehammer. Once you have it, return to the Funeral Home and smash the cracked wall you could not pass before. Deal with the enemies beyond it and take the Attic Key. Climb to the next floor, head left and unlock the attic room; the Swedish K SMG is beside the bed.
The important pickup order is hammer, Attic Key, then SMG. For the connected area route, follow silver pines church hill.
Market Street weapons
Set the backlot padlock to spade, heart, club, diamond. The same four symbols appear in the shop's front window. Once the gate opens, take the Baseball Bat in front of the dumpster.
Bring your flashlight into the shop. The upstairs jersey gives 23 and Class of 67, which combine into 2367. Enter that code at the weapon cage, deal with the enemies and collect the Double Barrel Shotgun. The opened cage is the check that you read the jersey correctly.
Return with the Crank Handle from Church Hill and use the upstairs wall socket. The shutter opens to a desk area containing a Pipe Bomb and the Attachable Laser Sight.
After collecting Cable Station Bell F, revisit The Quiet Hour Cafe. Speak to the man on the floor and take The North Star beside him, along with the nearby Star.
Sewer Magnum and late Shovel
Defeat the Sheriff beyond the sewer main gate to obtain the .44 Magnum. The main gate route requires flow controls A, B and C to be on and the pressure wheels turned to maximum. Before moving through, check that all three control-room lights are green.
After taking the cable car up Mount Siah Kopa, return to the digging man's caravan beyond the Downtown liquor store. The finished hole and the man's absence signal the change. Inside the caravan, take the Shovel leaning beside the bed on the right.
Which endings unlock weapons for a new game?
The Leave ending unlocks the Switchblade, the Live ending unlocks the Omega Rifle, and timed Rest-ending runs unlock SMG or Magnum starting loadouts.
| Unlock | Requirement | What you receive |
|---|---|---|
| Switchblade | Leave ending | Switchblade available for a new game |
| Omega Rifle | Live ending | Loaded Omega Rifle plus 30 Magnetic Slugs |
| SMG Loadout | Rest ending in 10 hours or less on Survival Horror or higher | Loaded Swedish K SMG plus 200 9mm rounds in the stash |
| Magnum Loadout | Rest ending in 10 hours or less on Nightmare | Loaded .44 Magnum plus 30 rounds in the stash |
Choose Kill Eddie Velvet for the Switchblade
At the final conversation, choose Kill Eddie Velvet to reach the Leave ending. Walker wakes outside the Miner Diner, receives a call and drives away. This ending earns the Switchblade unlock.
Collect all mementos for the Omega Rifle
Collect all 25 mementos, choose Leave in the final conversation and talk to Drew at the Outskirts shore. With the collection complete, he lights the furnace in the neighboring shack. Examine it and confirm Burn everything? to reach the Live ending and earn the Omega Rifle unlock.
Finish Rest within the loadout requirements
Open the Ring Box with all five Stars before choosing Leave, then complete the Rest-ending route. The difficulty and completion time in the table decide whether you earn the SMG or Magnum loadout. Check those requirements before committing to a timed run.
You now have a pickup checklist for the town's weapons, the Molotov recipe and the requirements for starting another game with unlocked gear. When you are ready to turn those final choices into unlocks, continue with silver pines mount siah kopa.