
Enter 1715 at the front door, then use 3100 to reach Eddie's tape. To reach the Silver Pines sheriff's office from Downtown, take the Riverside Bridge Key from the cable station's A hook, cross Riverside and open the junkyard's rear gate. Inside the department, the safe gives you the Evidence Lockup Key needed to reach the crowbar and recover Badge 0013 for the interrogation-room clue.
Where do you find the red bird and yellow bird for the cafe cage?
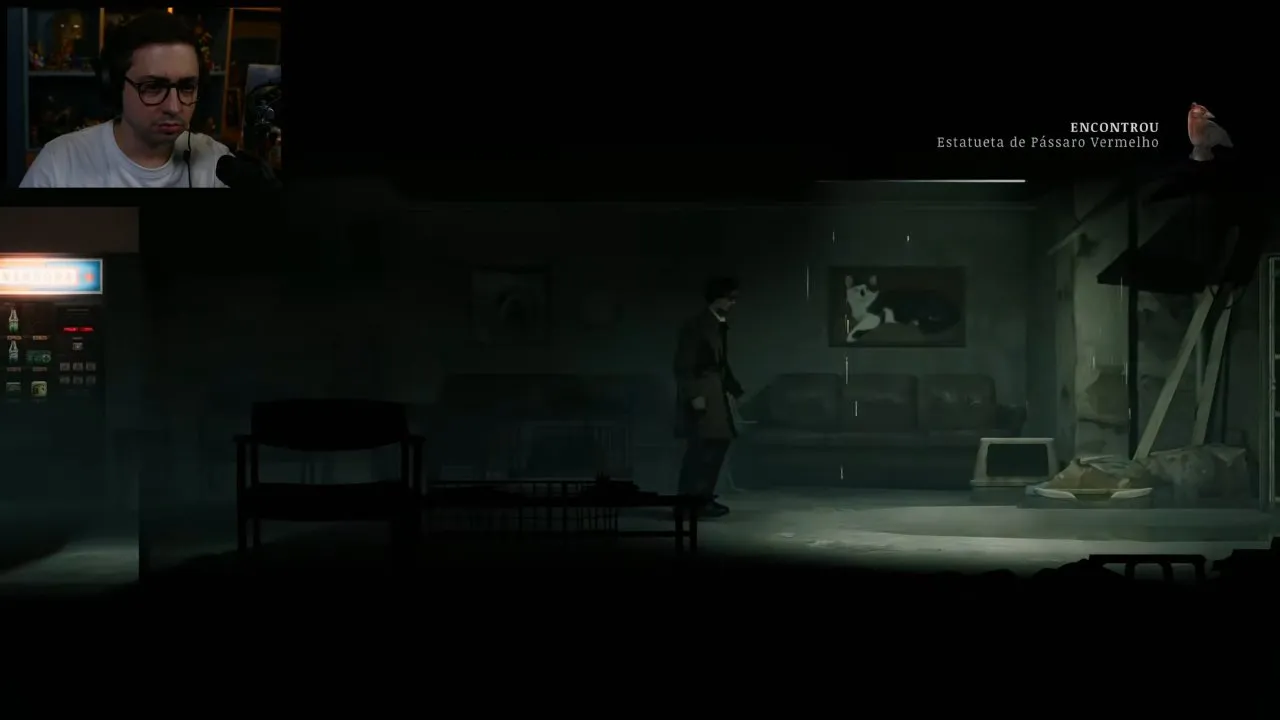
Take the Red Bird Statuette from the veterinary clinic trolley and the Yellow Bird Statuette from the cinema counter. The clinic screenshot shows the red bird pickup notification, so you can check that you collected it before leaving.
From the ferry, head right through Downtown and take the map at the bus stop. Continue to the clinic before turning up the nearby street toward the cafe. Inside the cafe, make and drink coffee to increase your maximum stamina. There is also a phone and storage box here; check silver pines how to save if you need help with the phone.
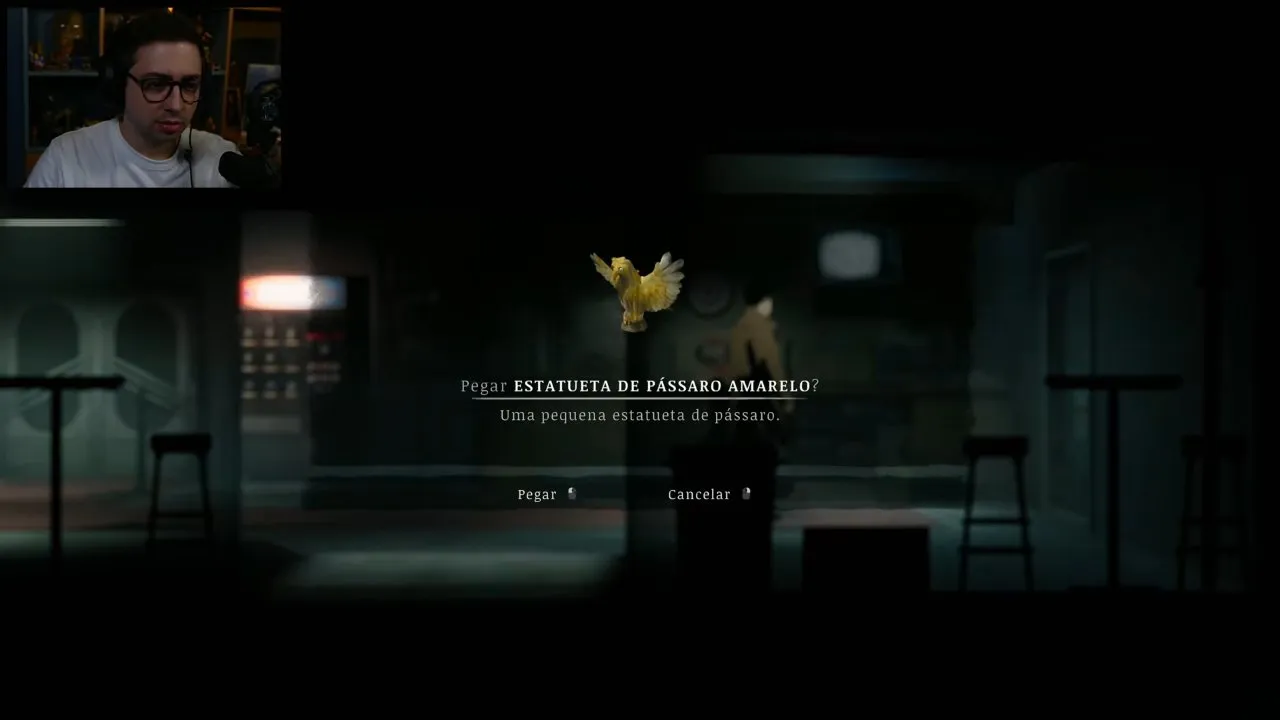
Continue past the cafe toward the Riverside sign and enter the movie theater. The pickup prompt shows a yellow bird statue on the counter. Take it, then buy the Projector Room Key from the vending machine and unlock the door on the right. Upstairs, collect the Nail Gun and nails before returning outside.
How do you solve the red bird three statue puzzle?
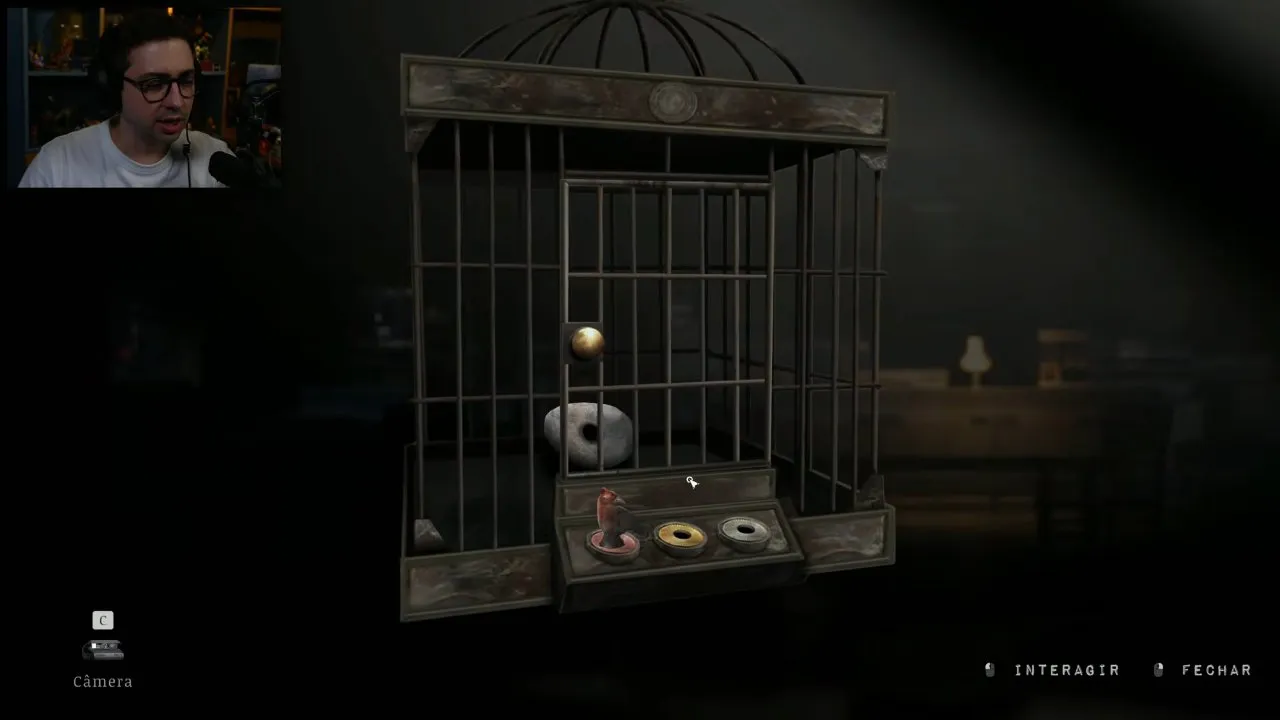
Place red in the red slot, yellow in the yellow slot and silver in the silver slot to open the cafe cage and collect the Smooth Stone With A Hole Memento. The screenshot shows red seated on the left, with yellow and silver sockets still empty.
The red bird and yellow bird cage puzzle can look like a placement riddle. Read it as a color match: each base tells you which statue belongs there. One bird leaves the cage shut, as shown above.
Place red and yellow during this first Downtown visit. For the silver bird, return later to the caravan area and go right past the man digging. Drop down the ledge, climb the next one and shoot the padlock above to lower the ladder. Climb it and take the Silver Bird Statuette. Back at the cafe, place it in the silver socket; the cage opens and you can take the stone inside.
Why is the Mount Siakopa lift not running?
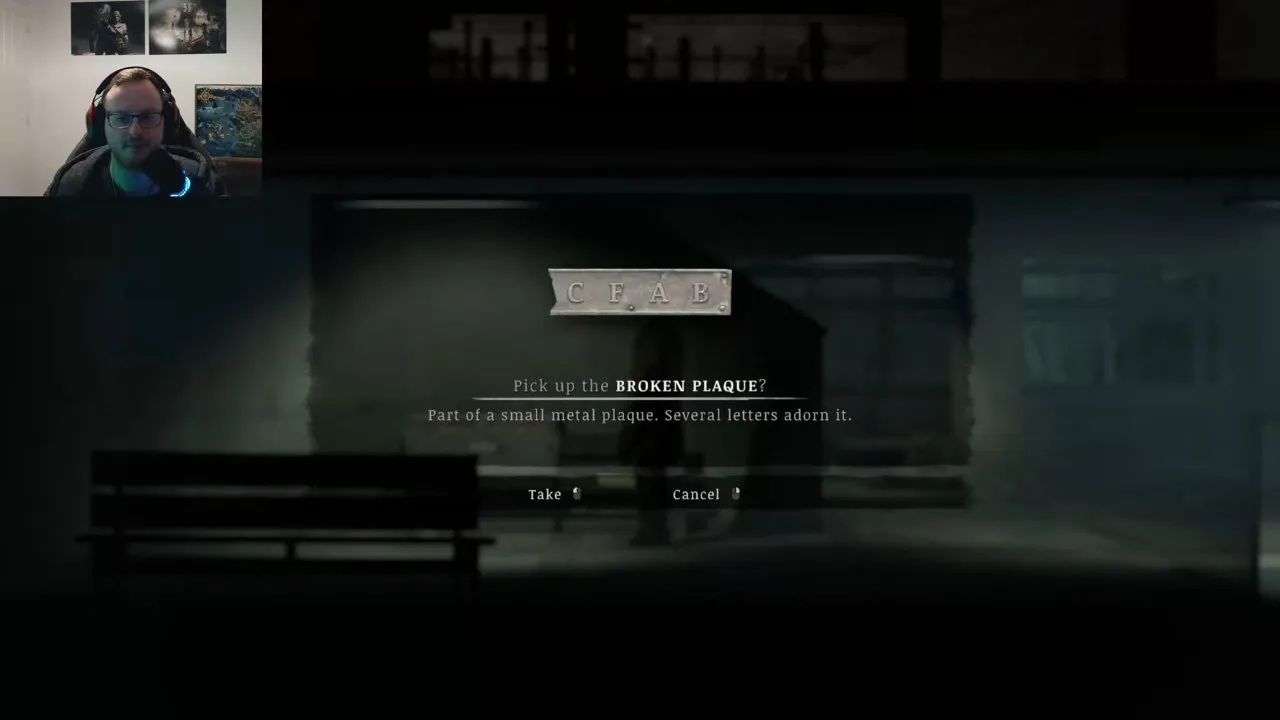
The Mount Siakopa cable car needs seven bells, rung in the order E G D C F A B; on this visit, collect the Broken Plaque and Riverside Bridge Key to continue toward the sheriff's office.
The direct street approach is blocked by a burning car. From the cinema, go left and shoot the shutter lock near the strange tree. Open the gate beside the stairs, climb down the ladder and run-jump across the water ledge. Take the tunnel left, crouching past its enemies, then exit and climb toward the cable station. Open the alley gate along the way to create a Downtown shortcut.
- Take the Broken Plaque from the downstairs bench. Its pickup prompt shows C F A B on the fragment. Use the nearby storage box if your inventory is full.
- Go upstairs and fit the fragment into the bell booth's plaque. The completed inscription reads E G D C F A B.
- Take the Riverside Bridge Key hanging under A. This is your way into Riverside.
- Take the map from the lit kiosk, speak to the man and answer the ringing phone after leaving the station.
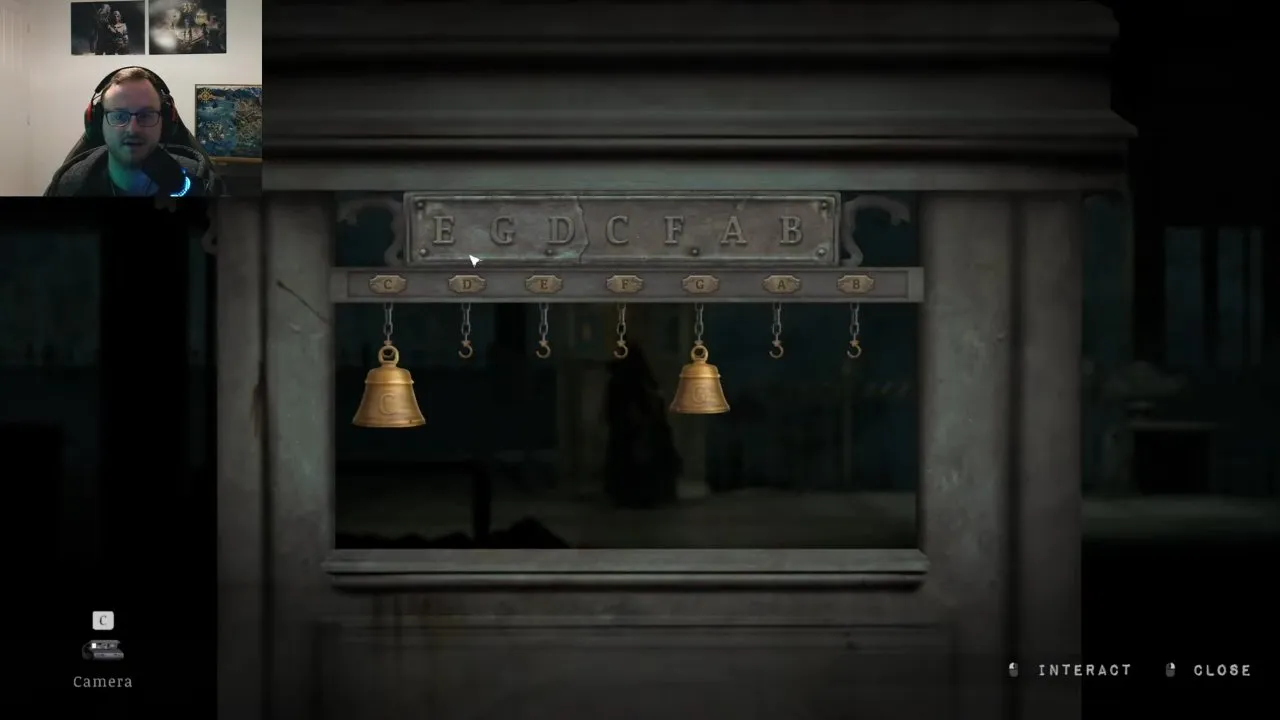
The screenshot separates two things that are easy to mix up: the hooks run C D E F G A B, while the plaque gives the order to ring the bells. C and G are already hanging there. Collect the remaining bells as you progress; finish the Journey to the Stars cable car puzzle with silver pines mount siah kopa.
Which Silver Pines keys open the route through Riverside?
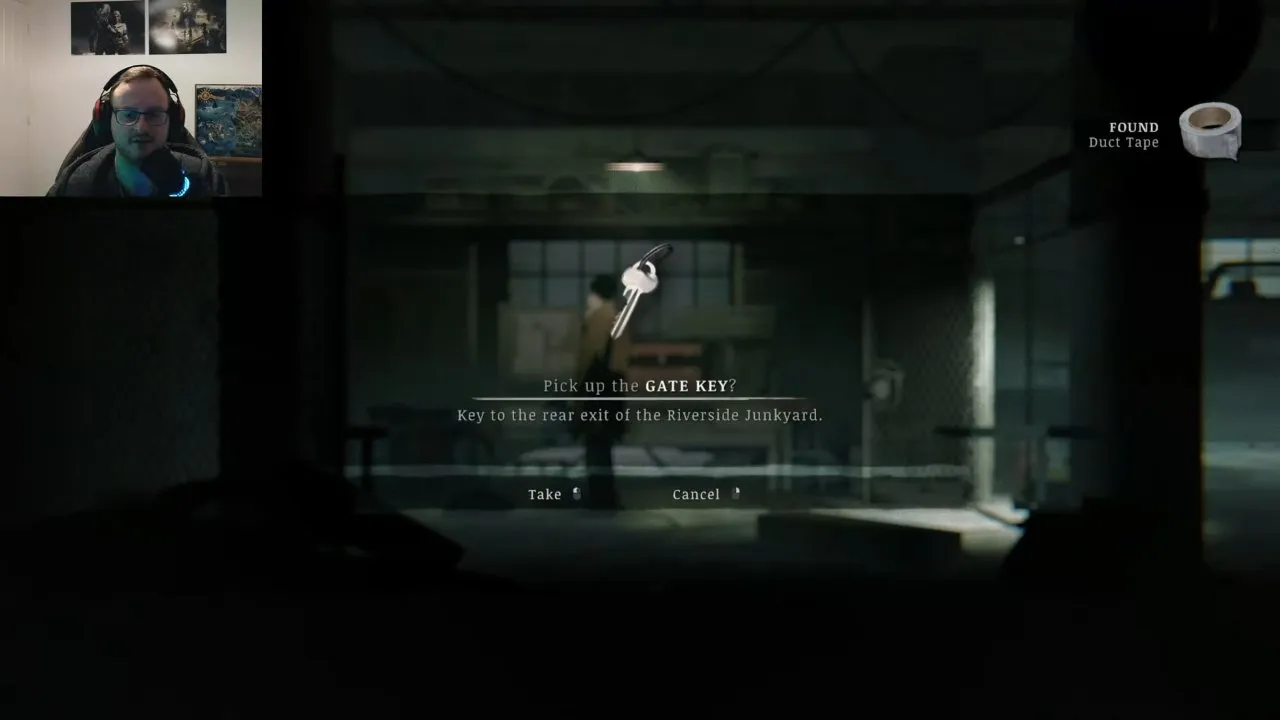
Use the Riverside Bridge Key on the Market Street gate, then take the Gate Key in Dana's Repair Shop to open the junkyard's rear exit. The screenshot's item description explicitly identifies that rear exit.
- Return past the cafe and unlock the Market Street gate. Cross the bridge, then take the Riverside map from the noticeboard up the stairs near the phone.
- Head right toward the junkyard. The first building contains a Repair Kit Note and Spare Parts. In Dana's Repair Shop, take the Gate Key from the small room beyond the gate on the left.
- Shoot the lock on the shop door beyond the Wing Oil sign and drink the coffee inside for more maximum stamina. Use the Gate Key on the junkyard gate and go left to the department.
- Visit the gas station's backyard and switch on the fuse box. The front entrance becomes accessible. Inside, take the Restroom Key and work through the rooms to collect the Flashlight.
- Return through the yard after the door locks behind you. Unlock the restroom, cut the sheet with your boxcutter and take the Hip Bag beyond it to expand your inventory.
Take the restroom Hip Bag before entering the dark tunnel. Its extra inventory space helps you carry the keys and equipment for the department.
What is the Silver Pines sheriff's office front door code?
Enter 1715 on the department's front-door keypad. To hear the code in-game, inspect the police-car radio in the parking lot, then use the truck radio beyond the dark tunnel to the gas station's right.
Turn on your flashlight for the tunnel. At the truck, tune the radio to 86.6, make the second and fifth mode buttons red, and interact with the microphone. The deputy's conversation gives you 1715. Return to the keypad and enter it; you can now go inside. For other numeric locks, keep silver pines codes handy.
Where are the keys inside the sheriff's office?
Take the Basement Key from the blue wall box in the sheriff's office, then get the North Wing Key from the basement Storage key rack. Turn on each room's lights as you enter and collect the department map upstairs so you can follow the loop back through the building.
| Item | Where you get it | What you open or collect next |
|---|---|---|
| Basement Key | Blue wall box in the sheriff's office | Basement gate |
| North Wing Key | Key rack in basement Storage, beyond the Archive Room | Locked North Wing door |
| Evidence Lockup Key | Sheriff office safe | Evidence lockup near the garden |
| Crowbar | Beside the chair inside the evidence lockup | Corpse's mouth and boarded armory doorway |
| Armory Key | Bed in Cell B | Gate inside the armory |
Go through the North Wing to the Briefing Room. Continue outside and down the stairs, then pick up the License Plate from the trash. Unlock the Reception exit as you loop through the garden; that shortcut gives you a direct return to the sheriff's office.
How do you open the sheriff office safe?
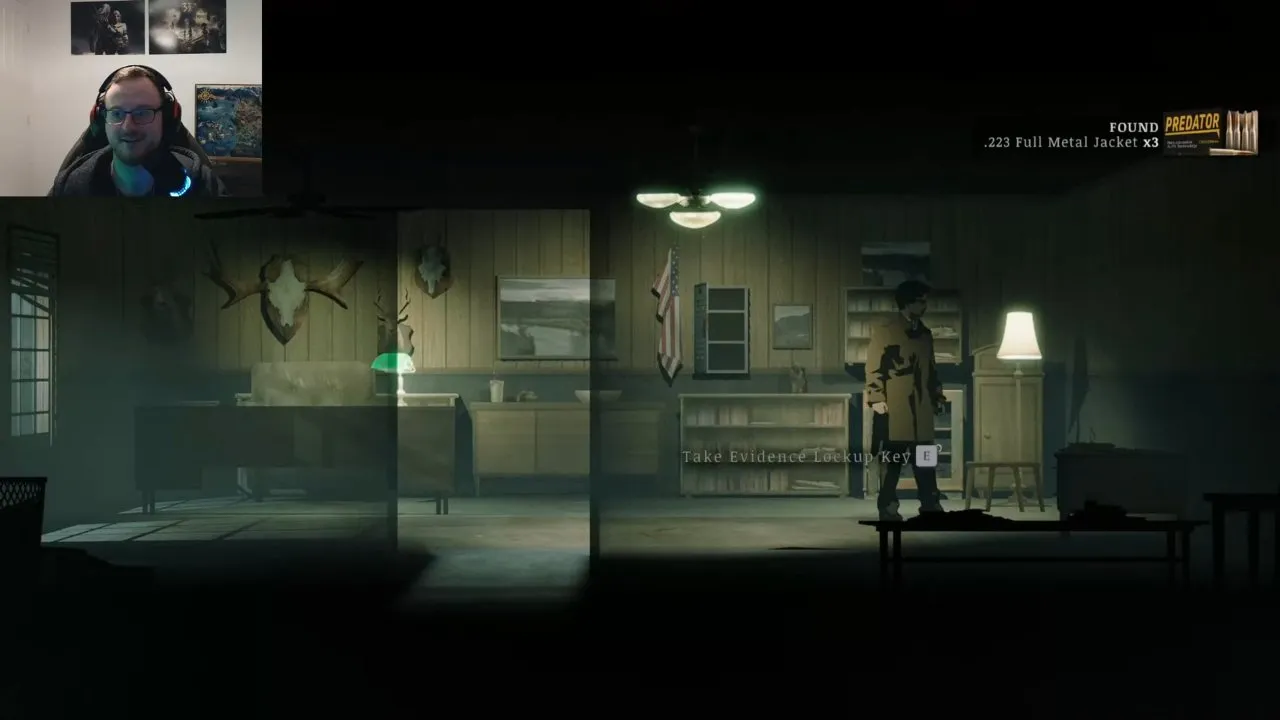
Turn the dial Right 15, Left 7, Right 3, Left 10 and take the Evidence Lockup Key plus the ammunition. The screenshot shows the key interaction prompt after the safe is opened, which is your success check.
The book's clue is Bones, Spirit, Body, Evil, with alternating turn directions. Those clues correspond to 15, 7, 3, 10. Treat this as a dial sequence, keeping each direction attached to its number.
Use the key at the evidence lockup near the garden and take the crowbar beside the chair. Go to Cold Storage, pull out the corpse and pry the badge from its mouth. You receive the Badge 0013 Memento.
Before returning upstairs, take the Armory Key from Cell B. Break the boarded doorway with the crowbar, collect the Weapon Utility Case and unlock the armory gate for the Model 7 Rifle and ammunition. Check silver pines weapons when choosing what to carry; the armory storage box lets you make room here.
How do you open Deputy Roberts' blocked interrogation door and get Eddie Velvet's interview tape?
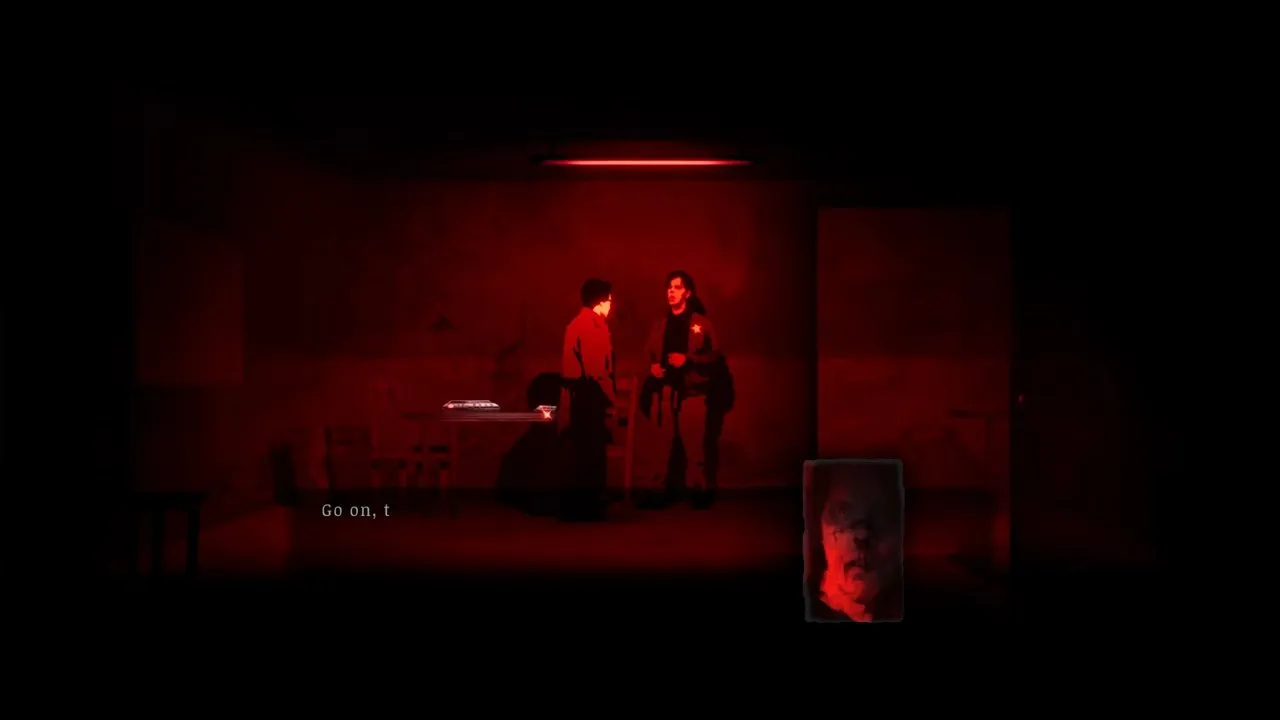
Enter 3100 at the interrogation-room keypad, talk to Deputy Roberts, then take Eddie Velvet's interview tape from the table and play it on the nearby tape player. The screenshot shows you inside the room beside Roberts and the tape table, after gaining access.
To read the clue yourself, return to the Briefing Room projector and use the License Plate over the text. Move it until the holes reveal Badge, Number, Reverse, Release, Prisoner. Reverse 0013 from the badge you recovered and you get 3100. That is the route past the blocked interrogation door.
After listening, leave the basement and prepare before opening the door left of the sheriff's office. Against the deputy, shoot when you have room and dodge through him if he corners you. Deal with the summoned dogs first so they do not interrupt your attacks on him.
After the fight, take the Snake Earring Memento from his body. In the new area, follow Silver Road left and collect Cable Station Bell (4A) at the dead end. You return outside the department with the tape heard and another bell collected. Take the opened shortcut back toward the Riverside bridge, answer the ringing phone and return Downtown. Continue with silver pines union apartments.