
Move between attacks and shoot during openings to beat Silver Pines bosses. Clear summoned enemies before returning to the main target; the Sheriff's struggle instead uses on-screen button prompts. These encounters stretch from the motel-to-ferry tunnel to the Strange Tree, with another fight on the Rest ending route.
How should you prepare for a Silver Pines boss fight?
Save at a phone and collect ammunition and healing from a Storage Container before entering a red-lit encounter.
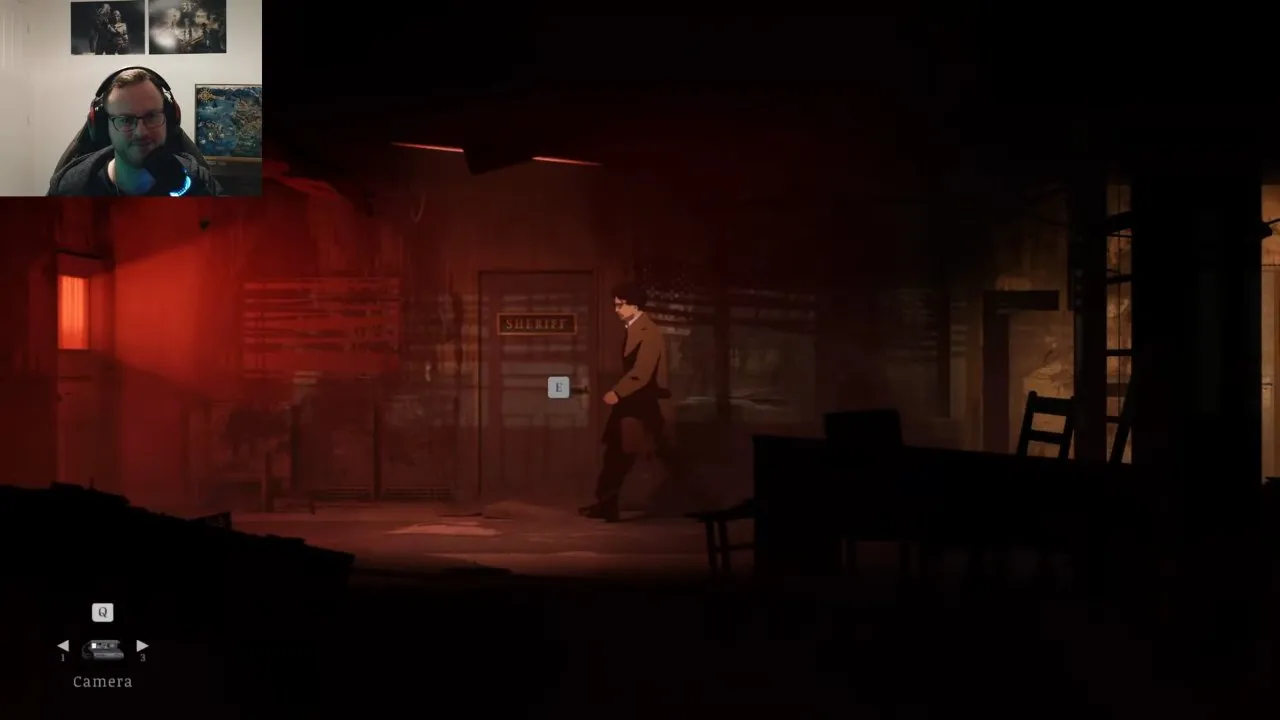
Red lighting can look like a change in atmosphere, but it also warns you to prepare for combat. The screenshot shows that warning beside the Sheriff's Office. A boss door does not give you a checkpoint, so keep a coin for the phone; see silver pines how to save before committing your supplies.
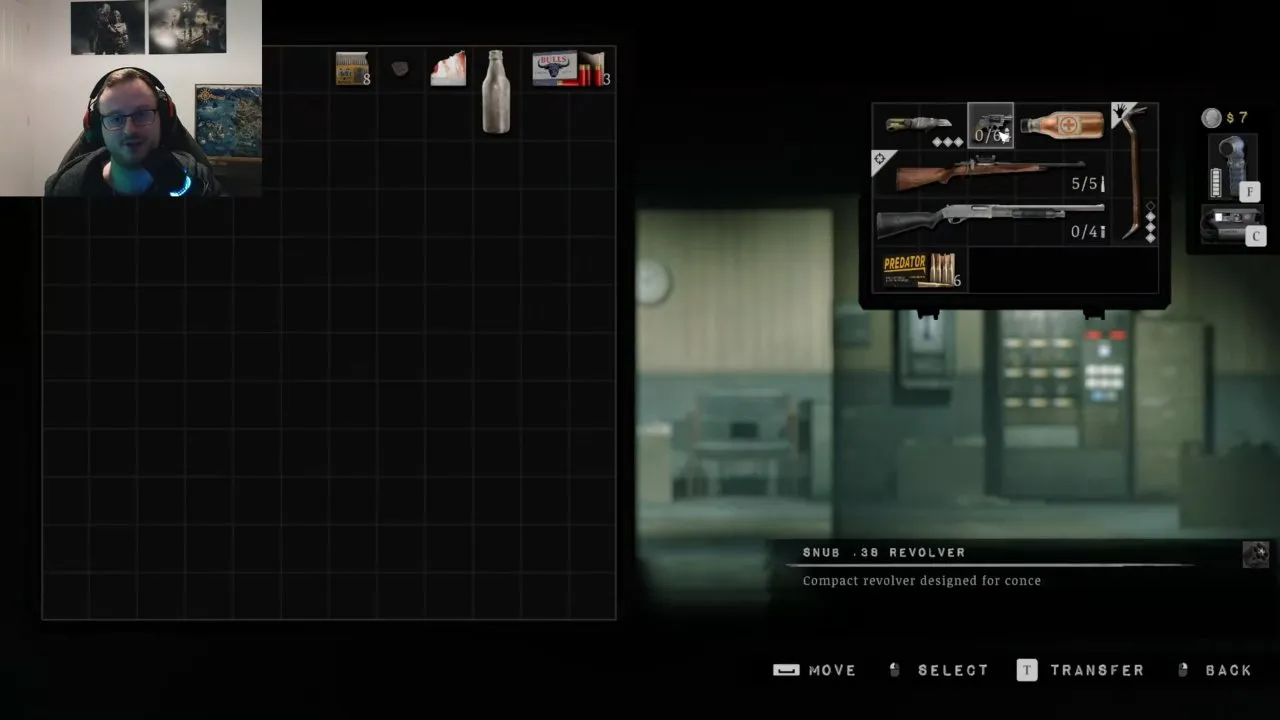
Check your loaded ammunition, not just whether a weapon is in your bag. Compare silver pines weapons when choosing a firearm for the fight below. A player in the embedded run died against Roberts, then brought a shotgun on the successful retry; the dogs were a major problem on the first attempt.
How do you beat the tunnel boss?
Move away from falling dirt, shoot after the boss fully lands, and clear its shadow enemies with your knife.
You reach the tunnel while heading from Crimson Bear Motel toward the Ferry Office after answering the phone outside the motel.
- Watch the ceiling. Falling dirt marks where the boss will drop, so leave that spot before it lands.
- Wait until its body is down before shooting. A head briefly poking out is too early; the landing creates your attack window.
- When shadows appear later in the fight, clear them first. They take one or two knife hits, saving shells for the boss.
A broken knife still damages enemies but loses its stagger effect. Duct Tape restores some durability, so repair it before the shadows crowd you if you can.
Examine the defeated body for the Corroded Iron Ball Memento. Equipping it reduces damage received by 10%. Continue the route with silver pines motel.
How do you beat Deputy Roberts?
Kill Roberts' dogs promptly, keep your distance, and dodge through him if he corners you.
Finish the Sheriff's Office puzzles and play the Eddie tape, then enter the red door beside the office. Roberts' melee combo has three hits; staying close gives him a chance to chain them. A second dog joins partway through, so check for another threat before focusing entirely on him.
Model 7 Rifle: recommended for keeping distance
Shoot from across the arena and keep circling. Roberts has no real ranged attack, making distance useful here. The rifle can hit Roberts and a dog when they line up, but clearing the dog is still your priority.
Shotgun: successful retry option
The embedded player beat Roberts after swapping in a shotgun. Load it before entering, deal with the dogs, then take shots when Roberts leaves an opening. At about 1:26:26, the player calls out the need to dodge; at 1:26:56, the subtitles record the defeat and achievement unlock.
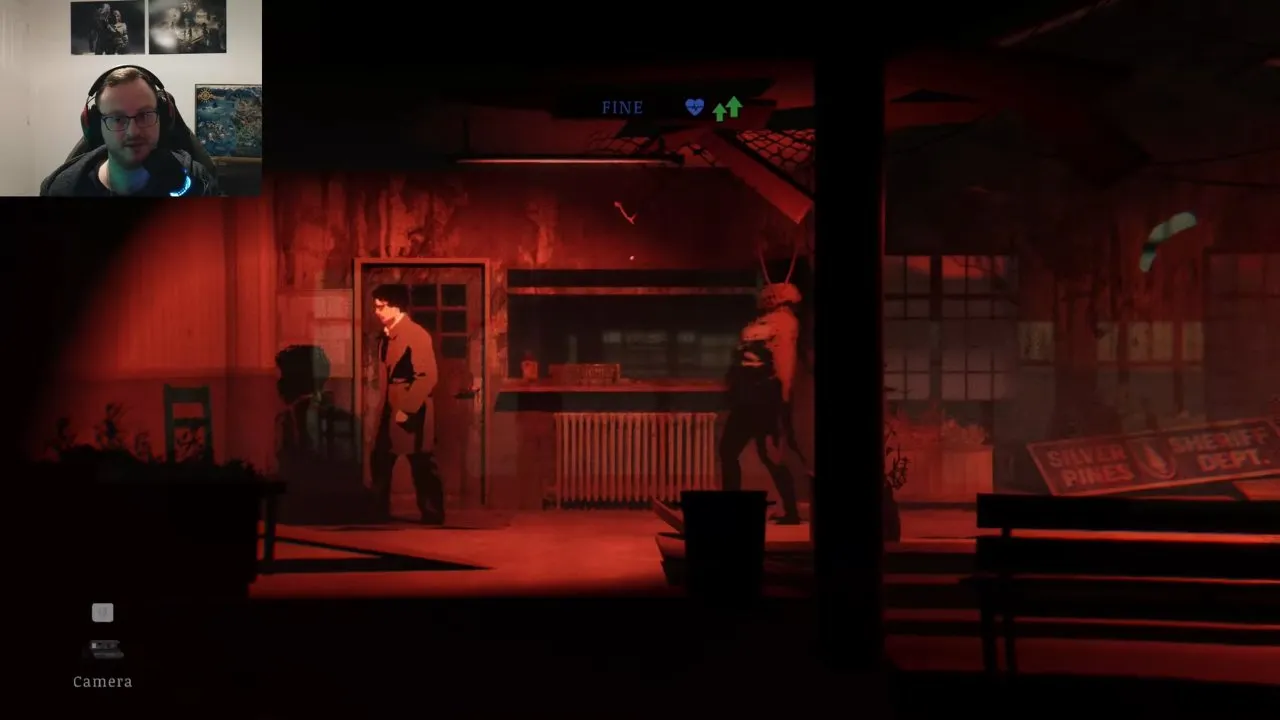
If Roberts reaches you, dodge through him and sprint to the other side rather than trading hits inside his combo. Confirm success when he falls and you can interact with his body. Take the Snake Earring Memento, which raises firearm rate of fire by 30%. On Silver Road, read the diary page on the sign and go left for Cable Station Bell A; you then return to the office. Continue with silver pines sheriff's office.
How do you beat the Union Apartments boss?
Move when the water splashes, then shoot the boss when it surfaces after the ground spikes.
The fight begins when you turn off the bathtub faucet in Apartment 4B. Save before doing that.
- Keep moving while the creature is submerged. A splash signals incoming spikes, rather than an invitation to shoot into the water.
- After the spikes, aim at the exposed head. The M1911 suits this short window because it reloads its whole magazine at once.
- Move again when it disappears. If it surfaces nearby, its body spikes can knock you back; if farther away, sprint out of the mouth-spike's path.
Ranged attacks are the safer choice than staying beside it for melee hits because it can retaliate with body spikes. After the kill, you arrive in a swampy area. Head left for the Sea Polished Glass Shard Memento and equip it to reduce stamina use while swimming. Follow silver pines union apartments for the surrounding route.
How do you beat the Town Hall boss?
Keep the Driver chasing you at a distance, dodge his heavy attacks, and fire during the gaps.
You meet the large enemy in the main hall after collecting the Malformed Mask from the furnace. His overhead swing and ground smash need different responses: dodge through the swing, but dodge backward from the ground impact and its surrounding damage.
For a closer attack loop, walk away until he follows, turn to bait the overhead swing, dodge through, and land two or three hits before backing off again. Greedy extra hits leave you beside his next attack. Staying at firearm range is the simpler approach, though he can also throw a projectile.
When he falls, leave through the front door. Check that the Malformed Mask, Blissful Mask and Weeping Mask are in your inventory before continuing the silver pines town hall route.
How do you beat the ship boss?
Avoid the blades rising from the floor, then shoot between attacks instead of standing still to unload.
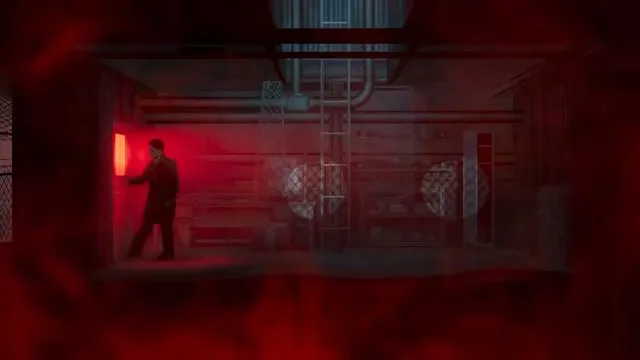
Open the hatch using the ship panel: bottom left, bottom right, top right. The hatch opening confirms the sequence worked. Once inside, go left to the glowing door and bring shotgun shells and healing before entering.
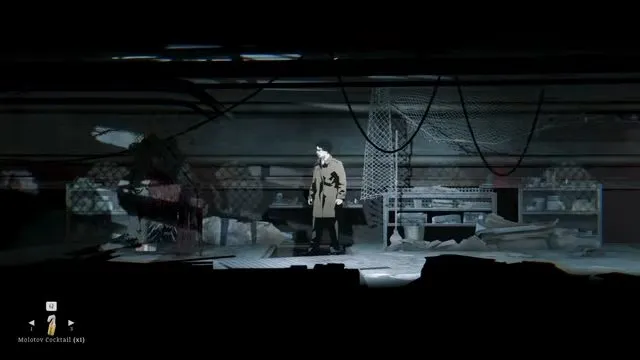
The fight resembles Union Apartments: movement keeps you clear of attacks coming through the floor. Watch where blades will emerge, move out of that space, shoot, and repeat. Planting yourself for more damage gives the blades a stationary target.
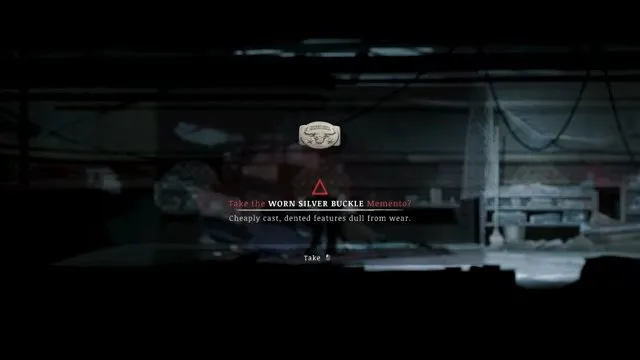
Take the Worn Silver Buckle Memento, which adds damage to sprinting melee attacks, then leave the ship. This is an optional memento fight outside the main quest, so weigh the reward against your health and ammunition reserves.
How do you clear the Church Hill battle?
Keep your distance and shoot the enemy waves, dodging through enemies when you need an escape route.
Ring the bell in Chapel Tower to turn the area red, then climb down carefully. Aim a weapon downward to see the platforms below before dropping; a long fall can kill you before the battle even starts.
At the bottom, restock from the Storage Container. Go through the wall gap and enter the left-hand door. A Model 7 Rifle or shotgun works here: clear dangerous enemies first and keep making space rather than letting the waves surround you.
There is no single boss to focus on. Once the last wave is cleared, go through the left door and take Cable Station Bell B hanging in the next room. Continue with silver pines church hill.
How do you beat the sewers boss without getting poisoned?
Keep away from the creature, fire between its swings, and have Antidotes ready for poison buildup.
Opening Flow Control Valve B leads into the encounter as you start back left. Save and restock in the control room first. The North Star Shotgun with 12ga Slugs is a strong choice; collect it from the wounded character at Quiet Hour Cafe after Church Hill.
Keep your distance: recommended
Back away as the creature advances and shoot between attacks. Watch your poison meter as well as your health: contact is not just ordinary damage. This approach avoids relying on a dodge through its poison aura.
Dodge through: emergency escape
Some players use a through-dodge when the boss closes in, while another player reports that doing so quickly fills the poison meter. Treat it as an escape when trapped, with Antidotes ready, rather than your regular attack loop. Melee keeps you near the same hazard.
Once the creature is down, go left, climb the ledge, and return toward the large sealed hatch.
How do you escape the Sheriff in the sewers?
Tap the button shown on screen to struggle free, then shoot when prompted.
After the sewers boss, turn the three hatch valves to maximum and move left out of the way as the hatch blows open. Climb through and approach the bell to trigger the Sheriff's grab.
Follow the displayed prompts instead of trying to run a normal firearm rotation. The scene ends with the man on the floor; talk to him, take the .44 Magnum, and collect Cable Station Bell E. With all five bells installed at the Cable Car Station, follow the plaque's ringing order to reach Mount Siah Kopa.
How do you beat the Driver rematch at Thelend Studios?
Keep moving, dodge the hammer when he closes in, and shoot during openings without retreating so far that he starts throwing objects.
Restock at the Pantry before approaching the revealed red door in Stage A. The Driver is more aggressive here, but the Town Hall attack pattern still helps you read his swings. Find a rhythm of shooting, avoiding the approach, and creating space again.
After he falls, take the 8 Ball Gear Shift Memento from the body and enter the stage door. Continue the mountain route in silver pines mount siah kopa.
How do you beat the Strange Tree boss?
Shoot between the creature's melee combos, move toward the center when it disappears, and prepare to dodge as it returns.
The fight starts when you insert the third Metal Spike into the Strange Tree, so save before using the last spike and bring plenty of healing.
Its long combos and scream can knock you back, and the scream inflicts Madness. The tree can also reach out and add Madness, so watch the surroundings as well as the creature. When it vanishes, stop chasing an invisible target and reposition; its return is your cue to dodge. Red surroundings signal a more aggressive stretch of the fight.
Use your strongest firearm during the gaps between combos. Once you are transported to a new area, collect the Polaroid Negative Memento, then head right and leave through the hole in the trees. Eddie Velvet comes next; your decision there matters for silver pines endings.
How do you beat the Server on the Rest ending route?
Run through the chase sections, attack at the dead ends, and avoid debris, thrusts and poisonous projectiles until the Server falls at Miner Diner.
This fight follows leaving Eddie alive and using two Gold Rings in the wall behind the Rabbit Hole Bar stage. One ring comes from combining all five Stars with the Locked Ring Box. Prepare at the Storage Container before speaking to the Server in the alternate bar.
- Run right during the opening chase. Break the locks and walls blocking your path. Reaching a dead end changes the encounter into an attack phase.
- Shoot while avoiding the attacks. Dodge falling debris, crouch under the long thrust, and stay clear of poisonous projectiles. Stay near the back wall to make the boss step forward; the floor collapses after its slam.
- Run right again when the pavement gives way. The next dead end is inside Miner Diner. Resume attacking and avoid the falling debris until the beast goes down.
Bring generous ammunition and a melee backup. One player entered with 24 Magnum rounds and 24 shotgun shells, then returned with more supplies; that loadout is an experience to learn from, not a guaranteed ammo budget.
Talk to the defeated body and leave the diner through the right-hand door. You have completed the Rest-route fight; follow silver pines endings for the route's remaining ending details.