
Drink diner coffee for permanent stamina. You begin in the diner, and the coffee maker is in its back kitchen: make a pot, then drink a cup. The most useful silver pines tips after that are to check payphone coin returns, photograph clues, and make room for supplies before leaving them behind.
What should you do first in Silver Pines?
Make coffee in the diner's back kitchen and drink a cup to permanently increase your maximum stamina.
The opening video segment, at 0:36–0:59, covers the kitchen coffee maker and the stamina benefit. Dodging and melee swings both consume stamina, so this is an upgrade you want before leaning on close combat. Repeat the make-and-drink routine whenever you find another coffee maker.
Don't stop at brewing. Drinking the cup is the step that gives you the permanent benefit; check your maximum stamina afterward. The extra stamina helps with both attacking and dodging, so leave yourself enough for the dodge instead of spending it all on another swing.
How do you save when you have no coins?
Check the coin return slot at the bottom of a payphone before giving up on saving.
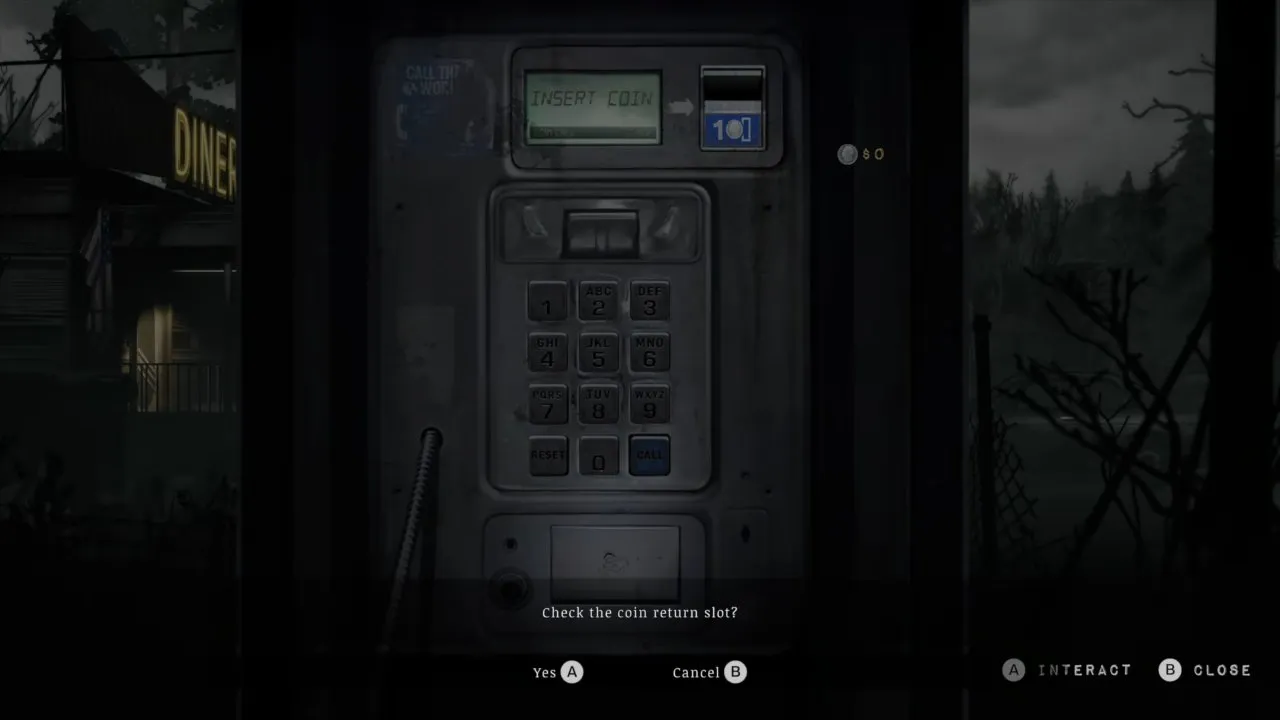
Almost every payphone has a coin waiting in its return slot the first time you use it. That makes checking a new phone a sensible habit, especially when your loose change is gone. Confirm the interaction with the visible Check the coin return slot? prompt, then check your coin total after collecting anything inside.
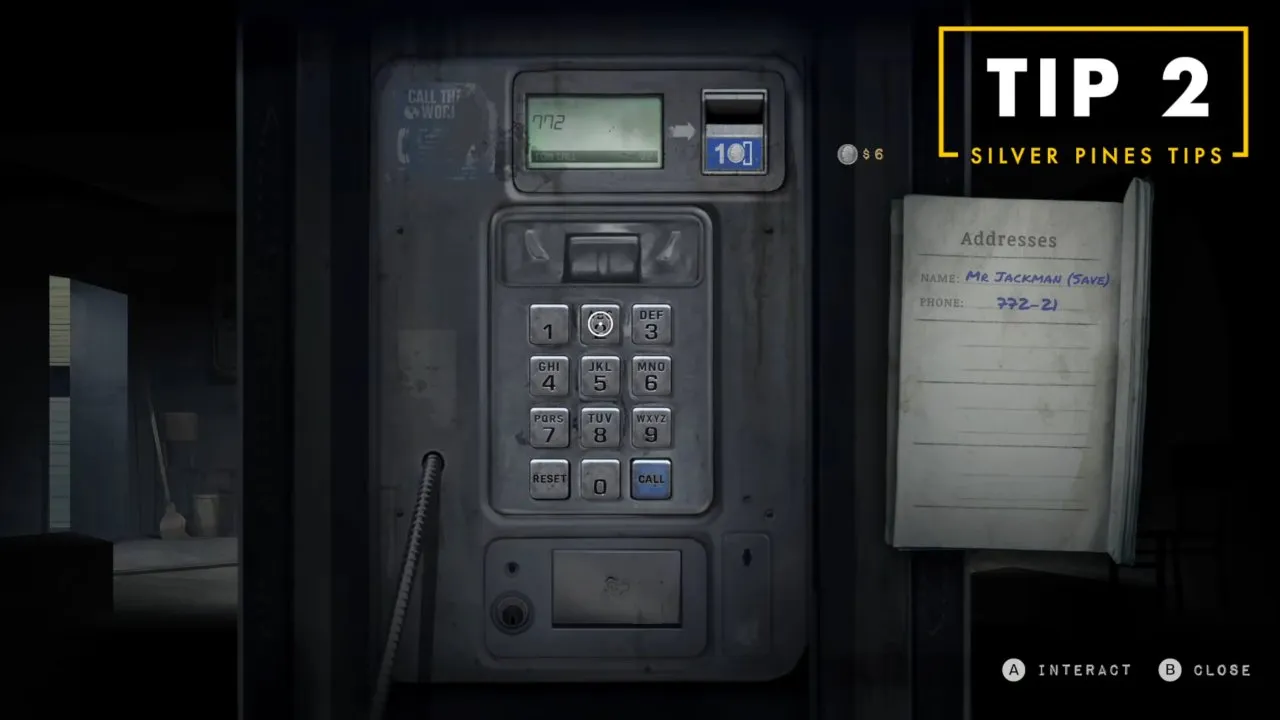
Saving uses the payphone and costs loose change. Finding a phone alone does not finish the job: collect the coin, then use the saving contact. For the full phone procedure, follow silver pines how to save.
How do you keep track of clues without wasting film?
Take Polaroid photos of important clues and blocked routes; the camera needs no film, and its photos attach to your map.
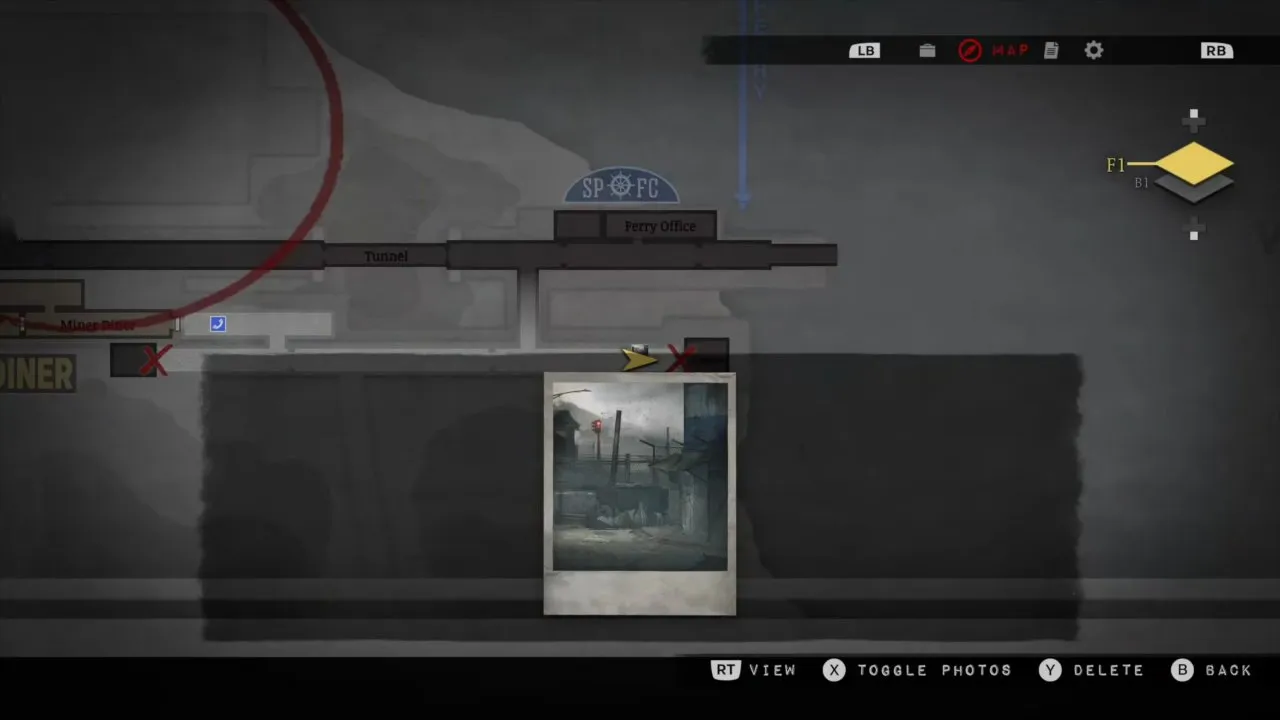
A suspicious detail can look like something you need to memorize. Photograph it instead. With the controller controls shown in the video at 1:35–2:00:
- Press D-pad left or right to select the Polaroid in quick access, then down to use it.
- Adjust the zoom and press RT to capture the clue.
- Open the map and look for the attached photo. That is your confirmation that you have a reminder to return to.
You can delete an unwanted photo with Y. Since film is not a resource, taking a picture is a better bet than deciding a detail probably won't matter.
How do you make more room in your inventory?
Move and rotate items to fit the grid, and prioritize shoulder bags because each adds two inventory slots.
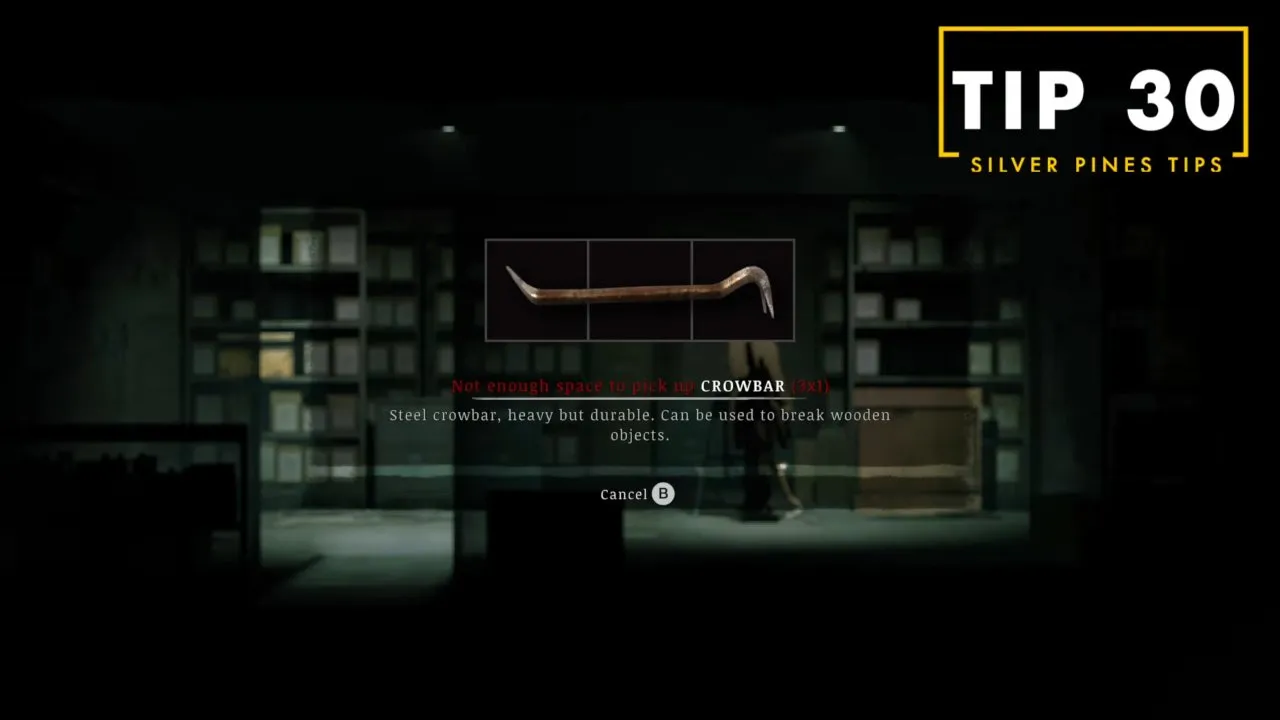
The inventory can look full when the real problem is the shape of the free space. On the controller layout shown, X moves items and Y rotates them. Arrange a gap that matches the pickup's footprint, then try collecting it again. Successful pickup into the grid confirms the rearrangement worked.
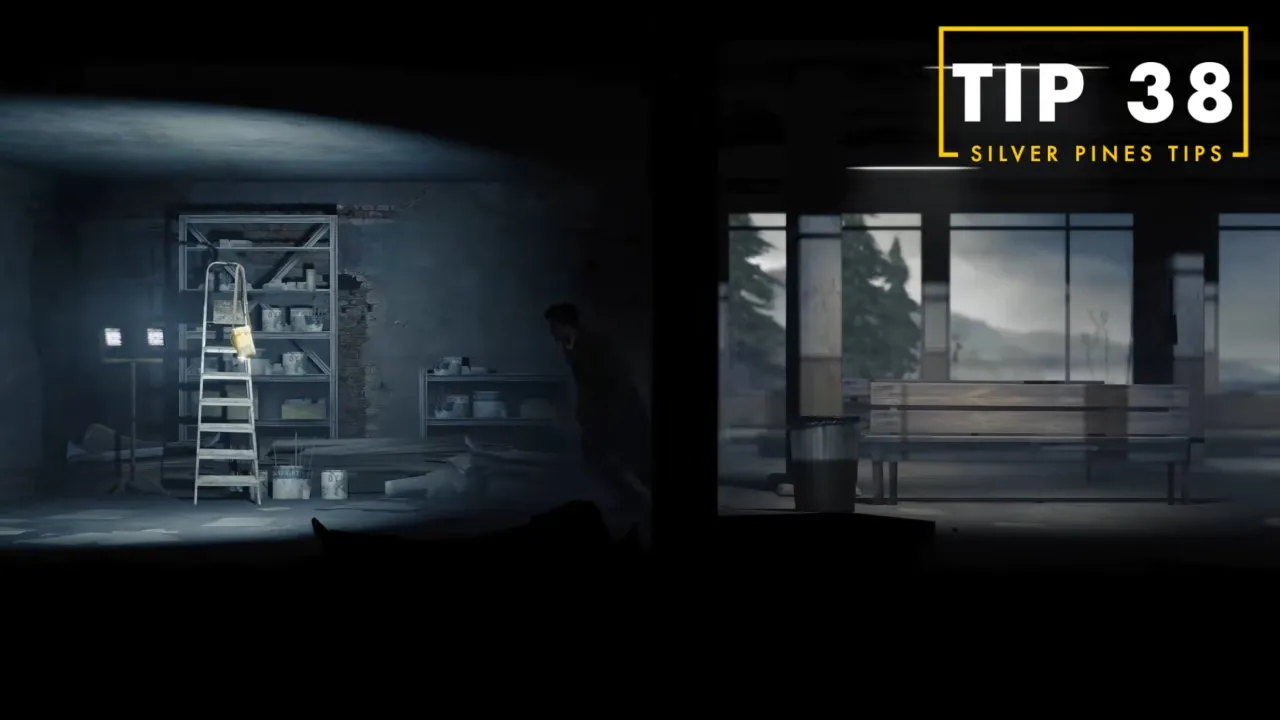
When you spot a yellowish-brown shoulder bag, work out how to reach it. Collecting one adds two slots; check the inventory grid afterward. A player describing their run found inventory space troublesome right up to the end, which makes these bags a practical priority.
If rearranging still isn't enough, you can drop items without them disappearing. Keep track of where you leave them so the extra room does not turn into a forgotten supply cache.
How do you unlock another memento slot?
Collect four green bird statue pieces, combine them into a whole, then consume the combined item to gain an extra memento slot.
You start with one slot. Mementos provide passive benefits such as extra stamina or reduced damage, so another slot lets you equip an additional benefit. The video segment at 8:13–8:36 covers the pieces and the combine-then-consume sequence.
- Shoot a green bird statue down, or hit it if you can reach it, and collect its piece.
- Once you have four pieces, combine them in your inventory. Check that you now have the completed item.
- Consume that item, then open the memento screen and check for the additional equipment slot.
Combining alone does not finish this upgrade. The consume step is what opens the slot. Continue with silver pines mementos when you want to find and equip the passive items themselves.
Where should you look for hidden supplies and routes?
Break wooden boxes with the crowbar, inspect side-wall vents, and look for stacked pallets that signal a jumping route.
Wooden boxes
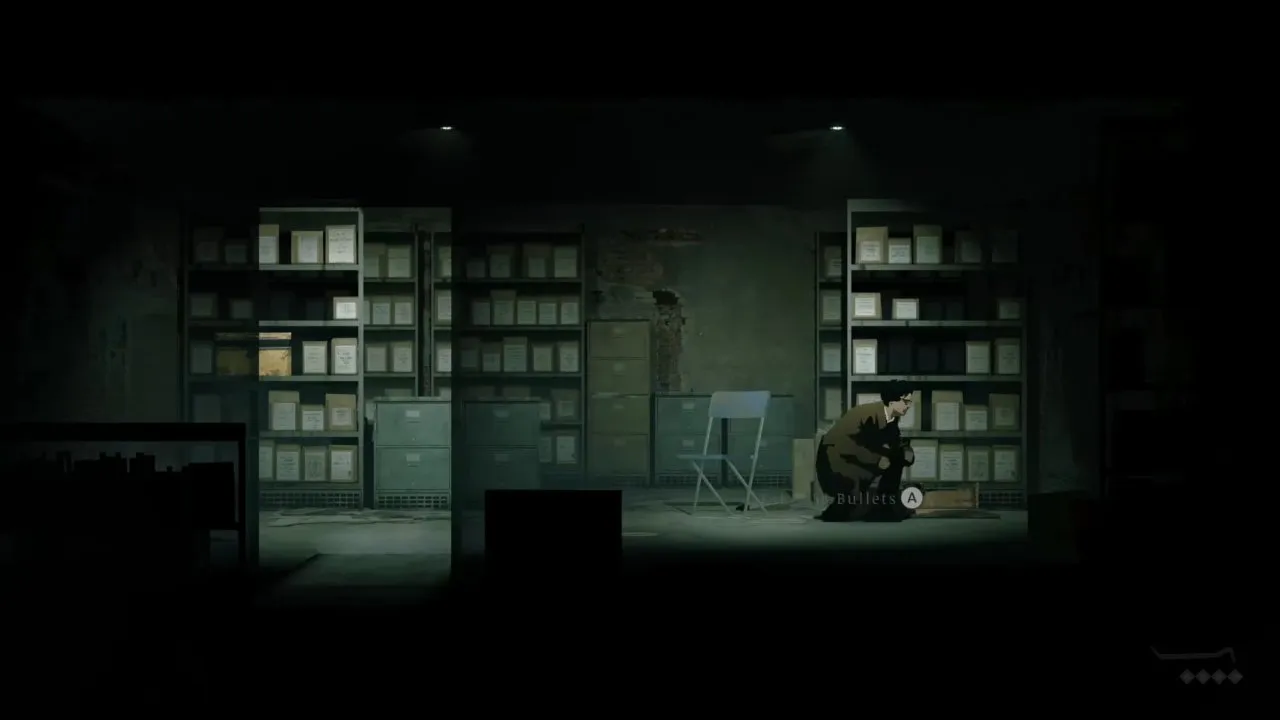
Hit a wooden box twice with the crowbar, usually while crouching. Don't walk away after the first hit: the second reveals the item at the bottom. Look for a pickup prompt among the broken wood, like the Bullets prompt pictured here.
Side-wall vents
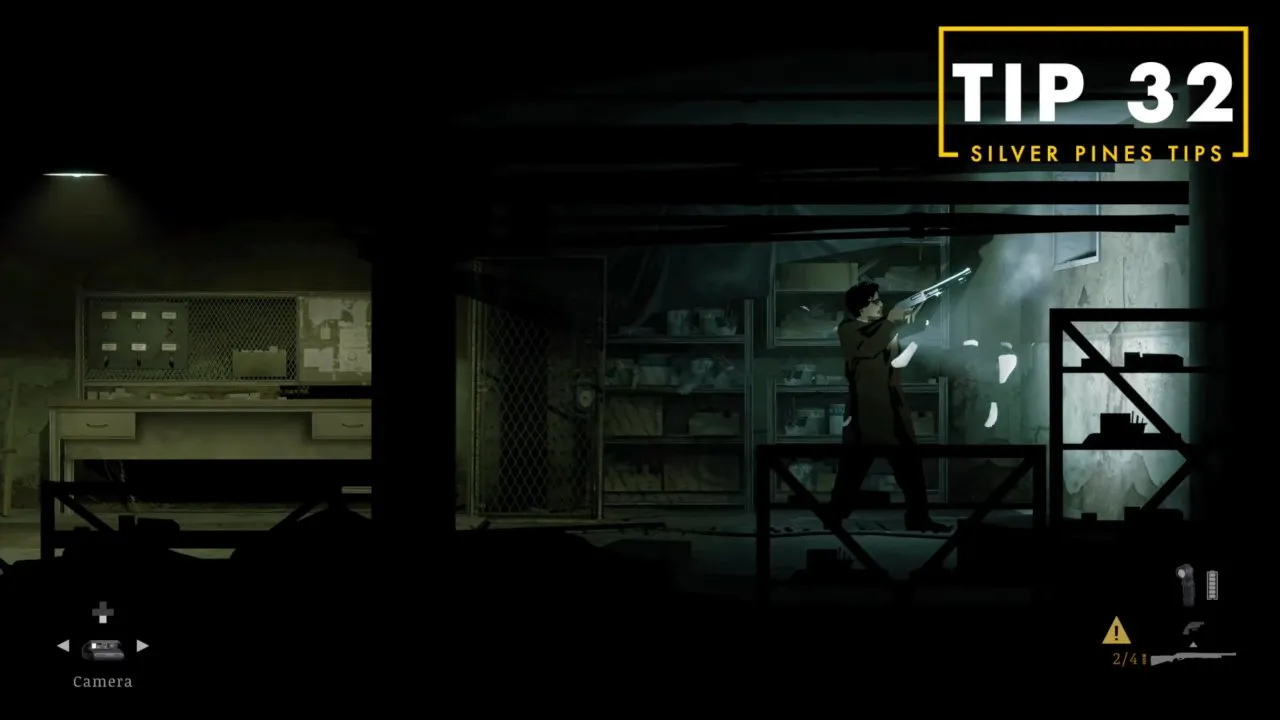
Side-wall grates can be shot out with almost anything. Some lead to supplies, and some are required for progression. After the grate breaks, get close and jump with Y on the shown controller layout to climb through. Reaching the other side confirms you used the opening correctly.
Background ventilation grates are decoration. Check which wall the grate sits on before spending ammunition trying to open it.
Stacked pallets and car trunks
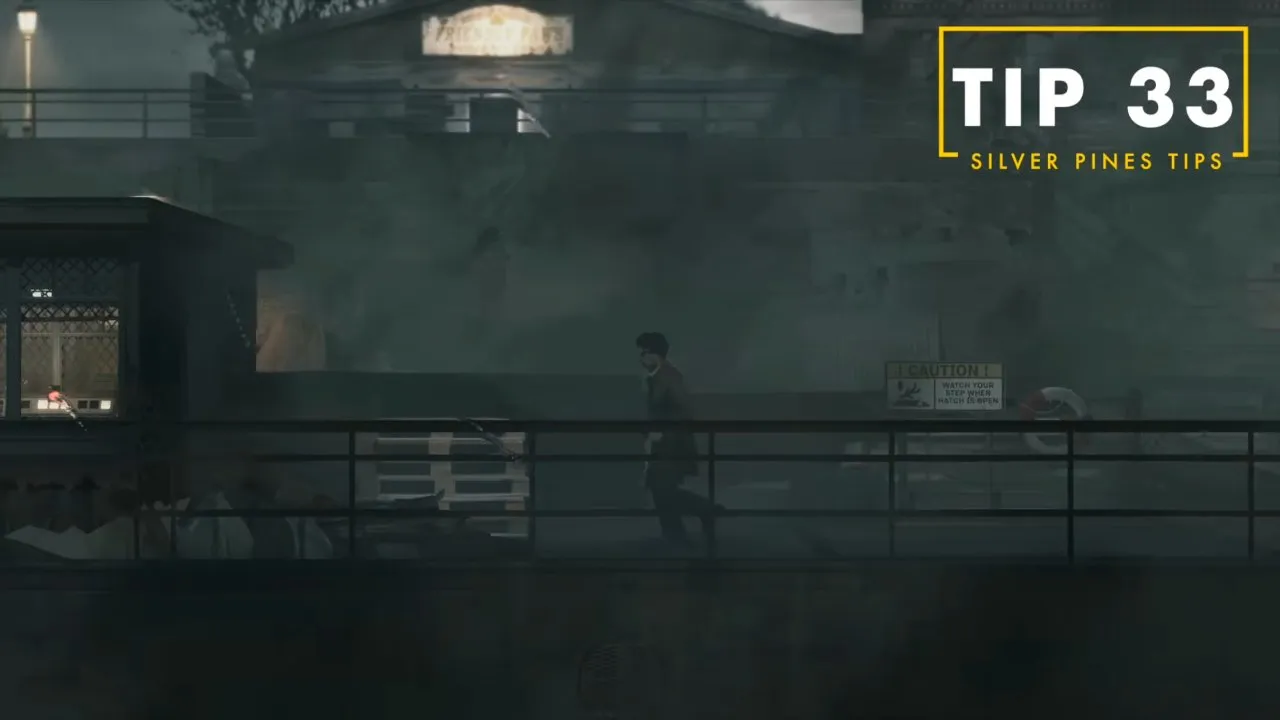
Stacked pallets suggest you need to, or can, jump somewhere nearby. Try the nearby route and check whether you can reach the next platform or passage. They are worth a second look when the path seems to end.
Check car trunks as you pass, too. Some open without anything special, even though others are locked. If a trunk opens, inspect its contents; if it stays locked, keep moving instead of assuming every car needs the same solution.
How do you use propane tanks and make Molotovs?
Ignite red propane tanks for a delayed explosion, and combine gas with an empty bottle to make a Molotov cocktail.
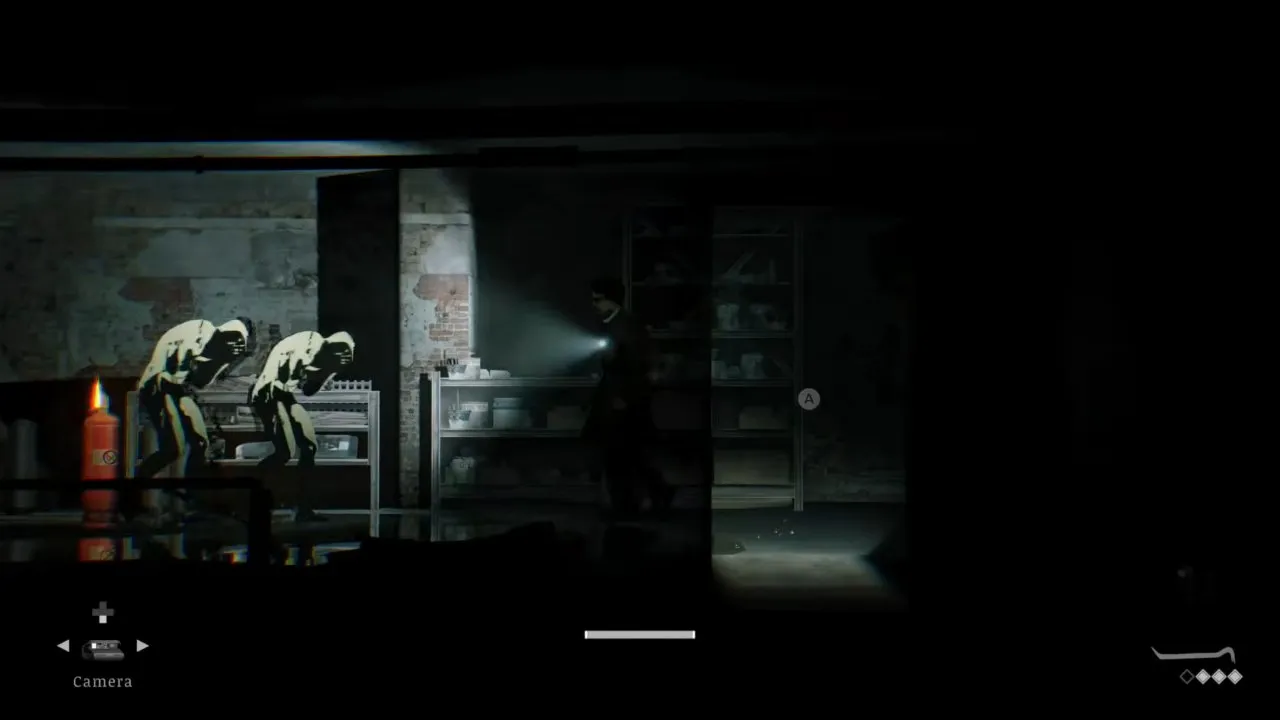
Shoot a tank once or hit it with a heavy melee weapon to start ignition. You have about five seconds to retreat before the large explosion. Pick your moment while enemies are nearby, then back away as soon as the tank ignites. Waiting beside it to squeeze in another hit is a poor trade for the blast risk.
Gas can look like fuel you should save to operate machinery. Its practical use here is Molotov crafting: combine it with an empty bottle and check for the resulting Molotov in your inventory. The video covers the tank and recipe at 9:44–10:09. For your other combat options, see silver pines weapons.
Which tools open blocked routes, and should you keep broken ones?
Match each obstacle to its tool, and keep broken tools because they still work for traversal.
The video at 11:41–12:16 explains how these items expand your route through town. A barrier can look like a dead end when it is really a reason to return with the right tool.
| Obstacle | Tool | How to check it worked |
|---|---|---|
| Plastic sheets | Knife | The sheets are cut and you can continue through. |
| Wooden barricade | Crowbar | The wooden obstruction breaks away. |
| Cracked concrete | Sledgehammer | The concrete breaks and the route opens. |
| Dark areas, including sewers | Flashlight | You can see and interact with doors or items. |
Without the flashlight, doors and items in those dark areas cannot be interacted with. Bring it rather than trying to feel your way through the darkness.
These tools have durability, but breaking one does not remove its traversal use. Keep it for the matching obstacle; duct tape and spare parts can repair tools. After a repair, check the tool's durability before relying on it again.
With coffee boosting your stamina, photos recording your clues, and a plan for coins and bag space, you can begin exploring with fewer avoidable setbacks. Head into the opening route with silver pines motel, then apply the box, vent, and tool checks as you go.